
Search
Who is online?
In total there are 2 users online :: 0 Registered, 0 Hidden and 2 Guests None
Most users ever online was 301 on Thu 21 Oct 2021 - 11:24
Latest topics
» RC Submarine: Russian Akula Class by redboat219 Tue 27 Sep 2022 - 11:43
» Land Rover Defender D90 photos and details only (picture intensive!)
by babyboy Fri 25 Jun 2021 - 16:39
» [Offroad Bashing and Rally] Offroad Bashing and Rally at Tampines Track 12 Jan 2020 - 0900hrs
by boolean21 Sat 11 Jan 2020 - 10:15
» [Scale Trail] Woodgrove Ave - Sunday 20 Oct 2019 0900hrs
by boolean21 Sat 19 Oct 2019 - 16:31
» vHOBBY RC videos
by CraftRC Fri 21 Jun 2019 - 21:32
» Suzuki Samurai 3D Printted project
by CraftRC Sat 4 May 2019 - 18:39
» WTS : Redcat Gen 7 Pro
by staypuft Mon 7 Jan 2019 - 11:31
» Hello all! Dan here
by csd8888 Fri 5 Oct 2018 - 8:27
» [Offroad Trails] Offroading at Tampines Quarry 16 Sep 2018 - 0900hrs
by boolean21 Sat 15 Sep 2018 - 18:41
» [Scale Trail] Woodgrove Ave - Sunday 12 Aug 2018 0900hrs
by boolean21 Sat 11 Aug 2018 - 22:51
» [Trail and Bash!] Woodgrove Ave - Sunday 22 Jul 2018 0900hrs
by boolean21 Sat 21 Jul 2018 - 19:39
» [Scale Trail] Woodgrove Ave - Sunday 01 Jul 2018 0900hrs
by boolean21 Sat 30 Jun 2018 - 20:39
» wts hobbywing esc + motor
by kelvintan_hc Thu 28 Jun 2018 - 15:36
» Axial roll cage crash
by CraftRC Fri 1 Jun 2018 - 20:16
» Jeep cherokee XJ crawling
by CraftRC Sat 26 May 2018 - 21:54
» Jeep cherokee XJ crawling
by CraftRC Sat 26 May 2018 - 21:54
» Extreme Rock Crawler Axial Wraith
by CraftRC Tue 8 May 2018 - 17:35
» [Scale Trail] Woodgrove Ave - Sunday 06 May 2018 0900hrs
by boolean21 Sat 5 May 2018 - 17:14
» Cab Land Rover Defender
by CraftRC Fri 4 May 2018 - 17:41
» Cab Land Rover Defender
by CraftRC Fri 4 May 2018 - 17:41
Most active topic starters
| boolean21 | ||||
| RTECH | ||||
| gionata78 | ||||
| laneboysrc | ||||
| oceanic | ||||
| Marpek | ||||
| babyboy | ||||
| ShaiAX55 | ||||
| Wrigleys | ||||
| Holdencars |
The Bruiser Built Story...
+5
RTECH
laneboysrc
oceanic
boolean21
Zax13
9 posters
SG Crawlers Forum :: RC Talk - Trail Trucks and Crawlers :: RC Trail Rigs and Rock Crawlers Discussion
Page 1 of 1
 The Bruiser Built Story...
I have been keeping this kit in the dark for a while now, so I thought of taking my time building the kit slowly and progressively.
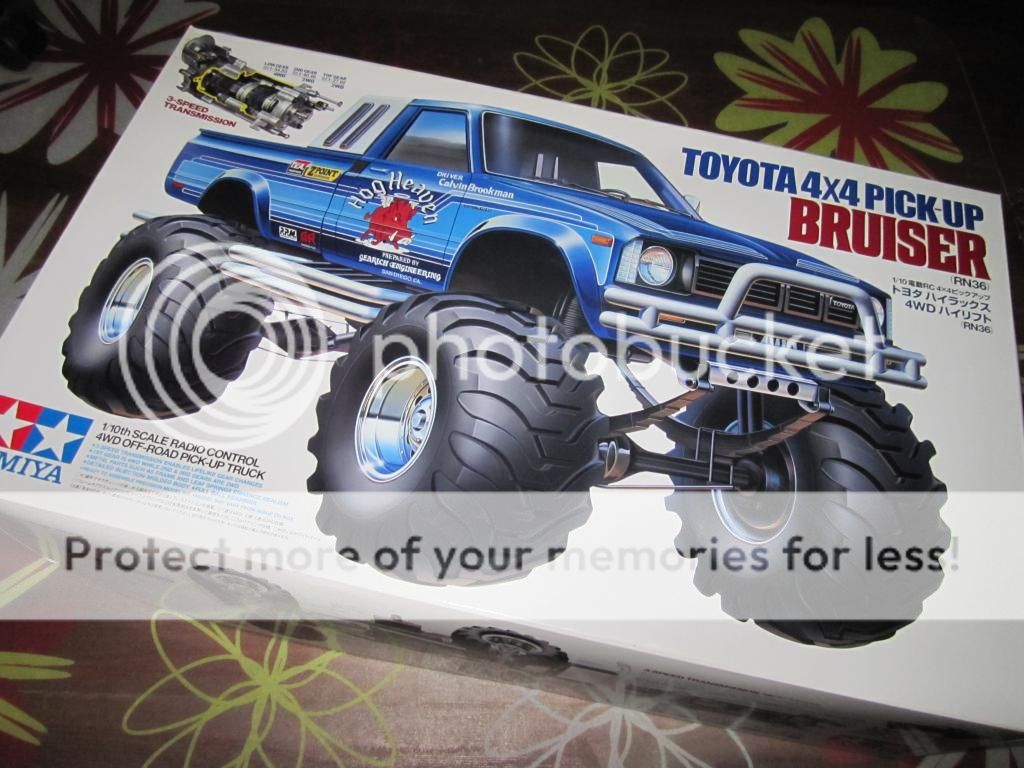
As you guys are familiar with all the Tamiya basic packaging with the big & nice illustration in the front to poison the passerby in taking the box home. Well I guess Im the sucker that fall into the trap.
Some old skool videos of the bruiser back in the days.
Another video from you tube courtesy of matteomeier...
The latest video featuring the 2012 Bruiser
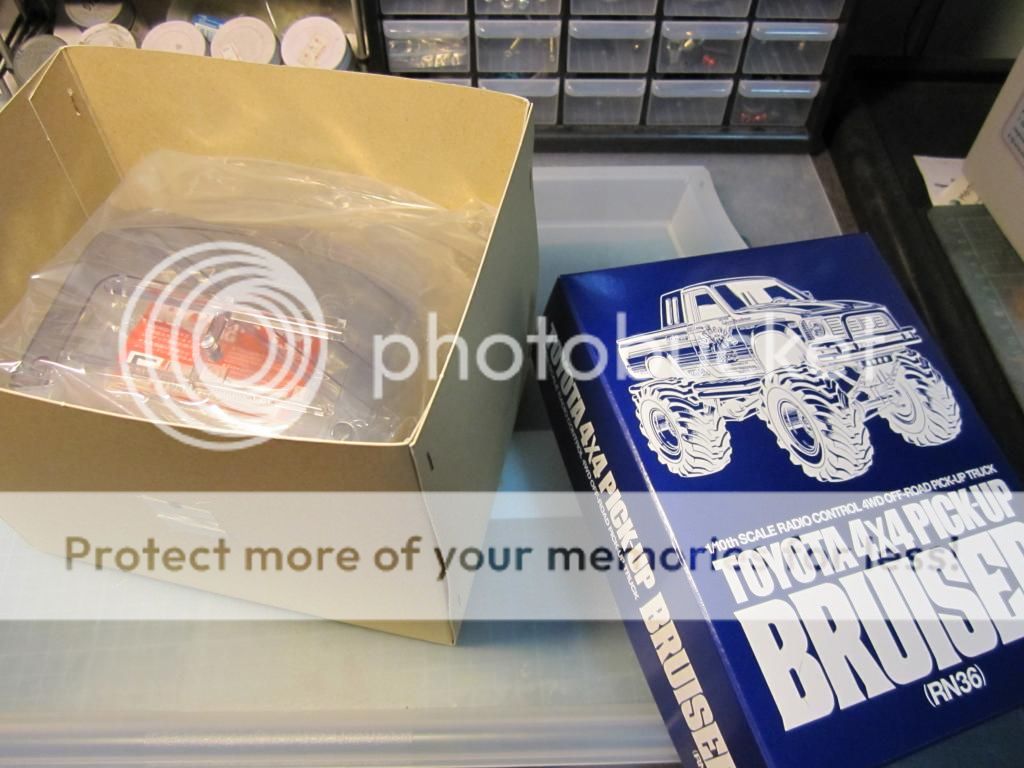
Lets have a look inside the box...
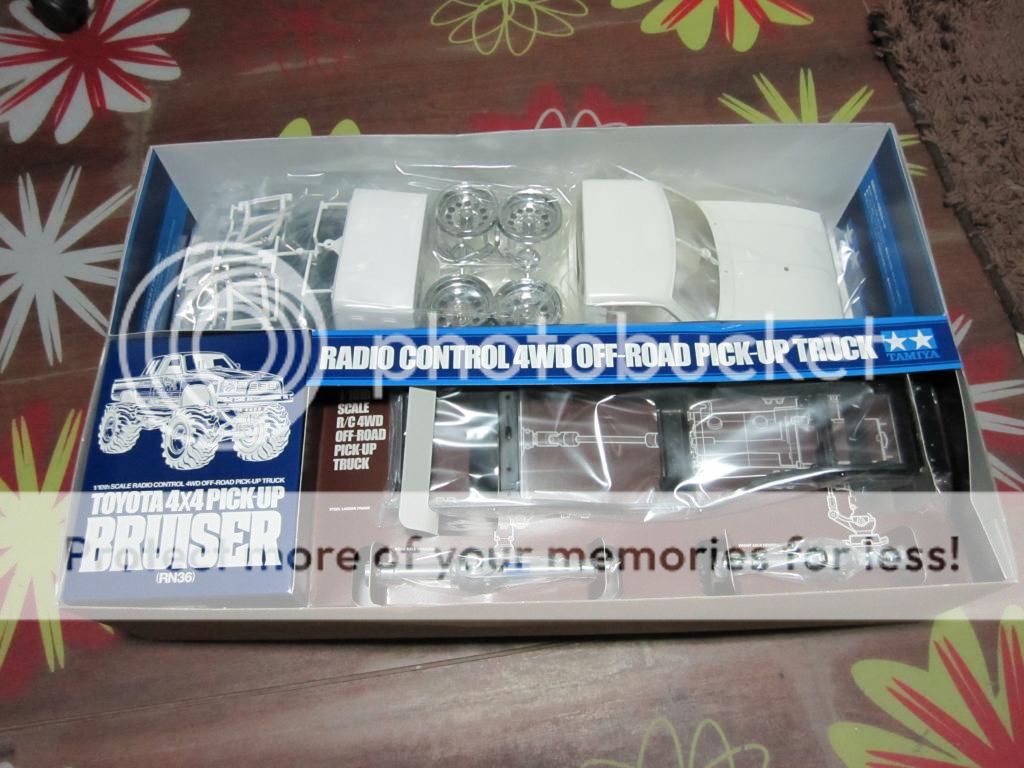
The parts are arrange in the box as to highlight the important bits of the built. Tamiya have done a good packaging.
Here are the items taken out of the box and arrange individually to show the exact amount of hardware we are dealing with when assempling the kit.
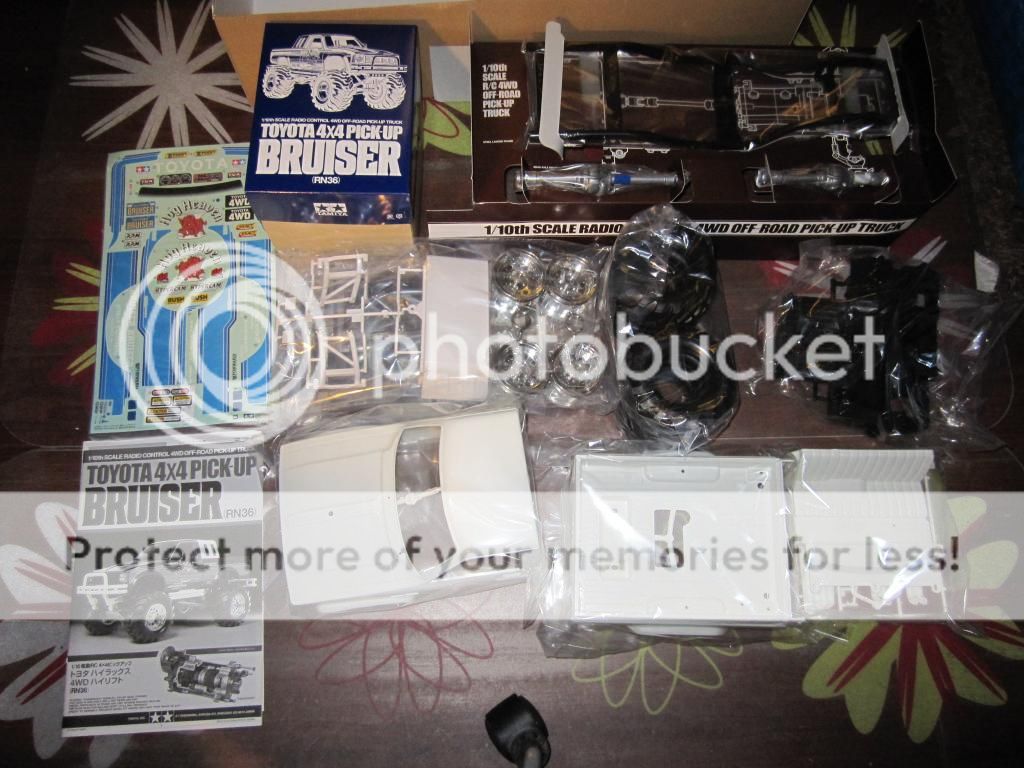
Items inside the blue lid box are mostly hardwares to stitch the whole kit together.
All are separated in individual packaging for easy assembly, or is it?
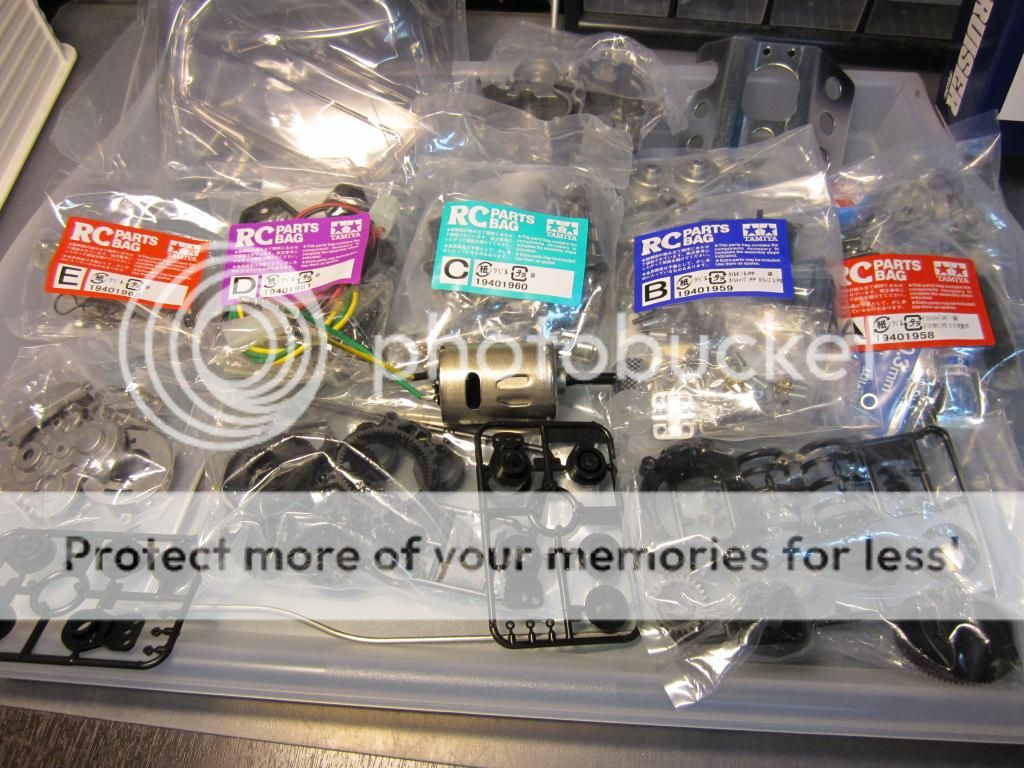
My opinion of the packaging is not really good... Why? The reason being that Tamiya have pack all parts according to it alphabetical steps A to E. And the manual also indicate for which alphabet bag to use. Seriously I got no problem with that but the problem I had is when I open each individual bags. All items inside a single bag are not labeled so its a bit difficult to identify and match each screws especially.

As you guys are familiar with all the Tamiya basic packaging with the big & nice illustration in the front to poison the passerby in taking the box home. Well I guess Im the sucker that fall into the trap.
Some old skool videos of the bruiser back in the days.
Another video from you tube courtesy of matteomeier...
The latest video featuring the 2012 Bruiser
Lets have a look inside the box...

The parts are arrange in the box as to highlight the important bits of the built. Tamiya have done a good packaging.
Here are the items taken out of the box and arrange individually to show the exact amount of hardware we are dealing with when assempling the kit.

Items inside the blue lid box are mostly hardwares to stitch the whole kit together.
All are separated in individual packaging for easy assembly, or is it?


My opinion of the packaging is not really good... Why? The reason being that Tamiya have pack all parts according to it alphabetical steps A to E. And the manual also indicate for which alphabet bag to use. Seriously I got no problem with that but the problem I had is when I open each individual bags. All items inside a single bag are not labeled so its a bit difficult to identify and match each screws especially.
Last edited by Zax13 on Sat 16 Feb 2013 - 21:53; edited 4 times in total

Zax13- Crawler
- Posts : 345
Join date : 2011-12-22
Location : Sengkang
 Re: The Bruiser Built Story...
Lets start building, starting with the A bag.
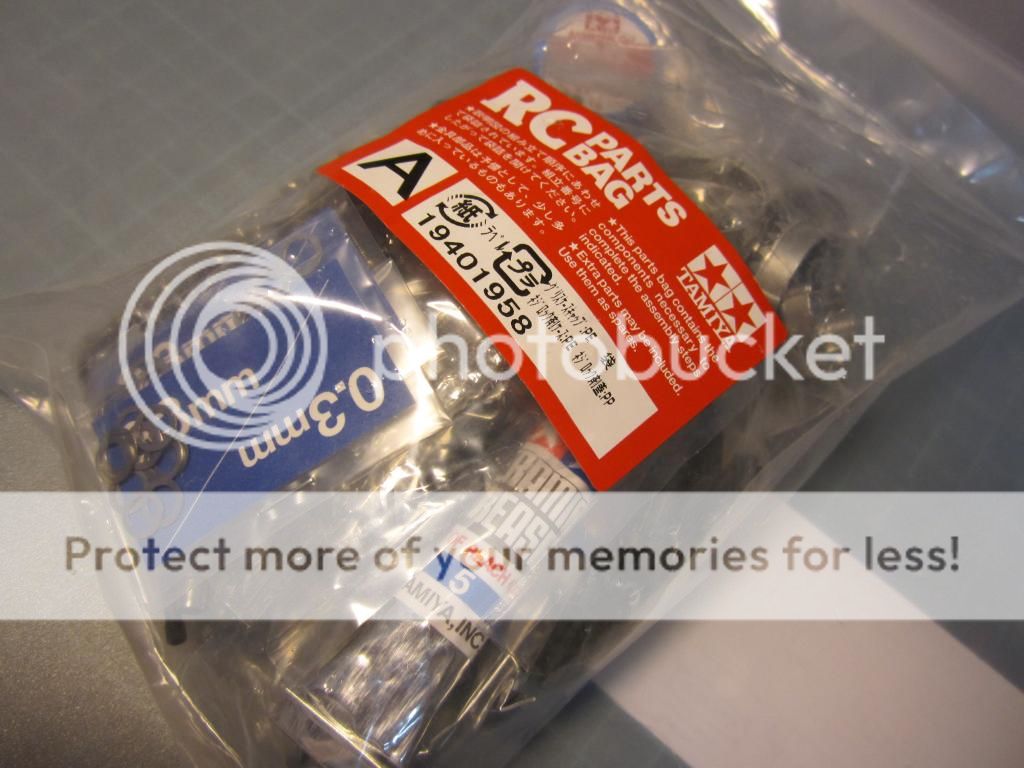
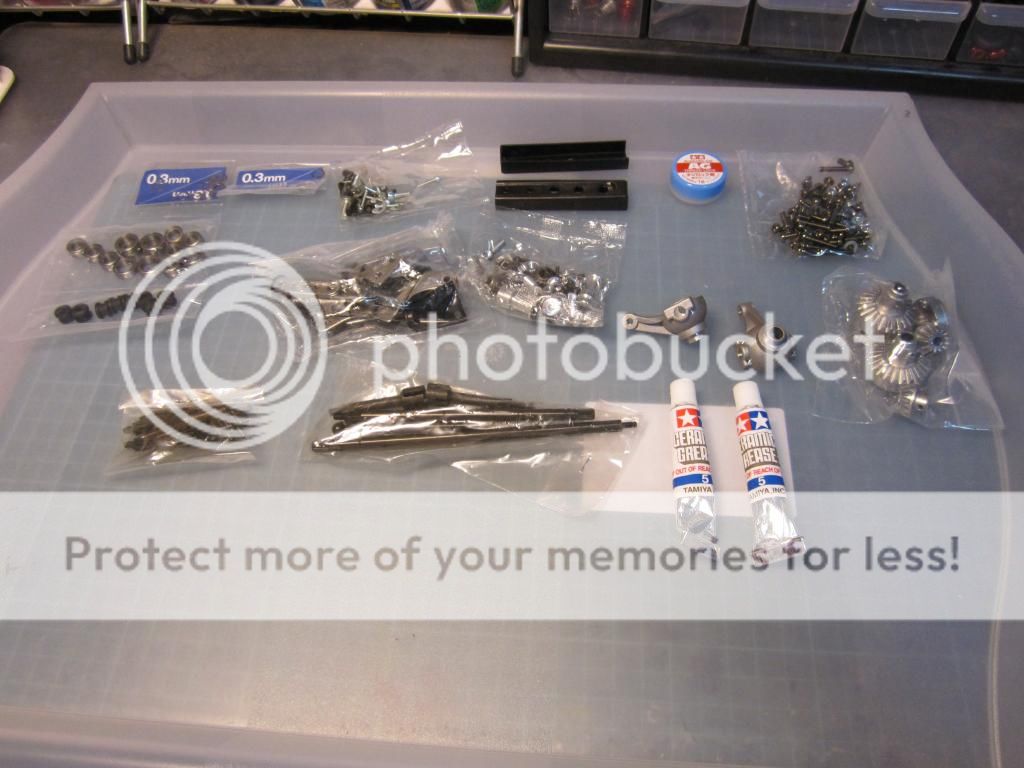
Inside the package A are basically things you need to assemble the chassis.
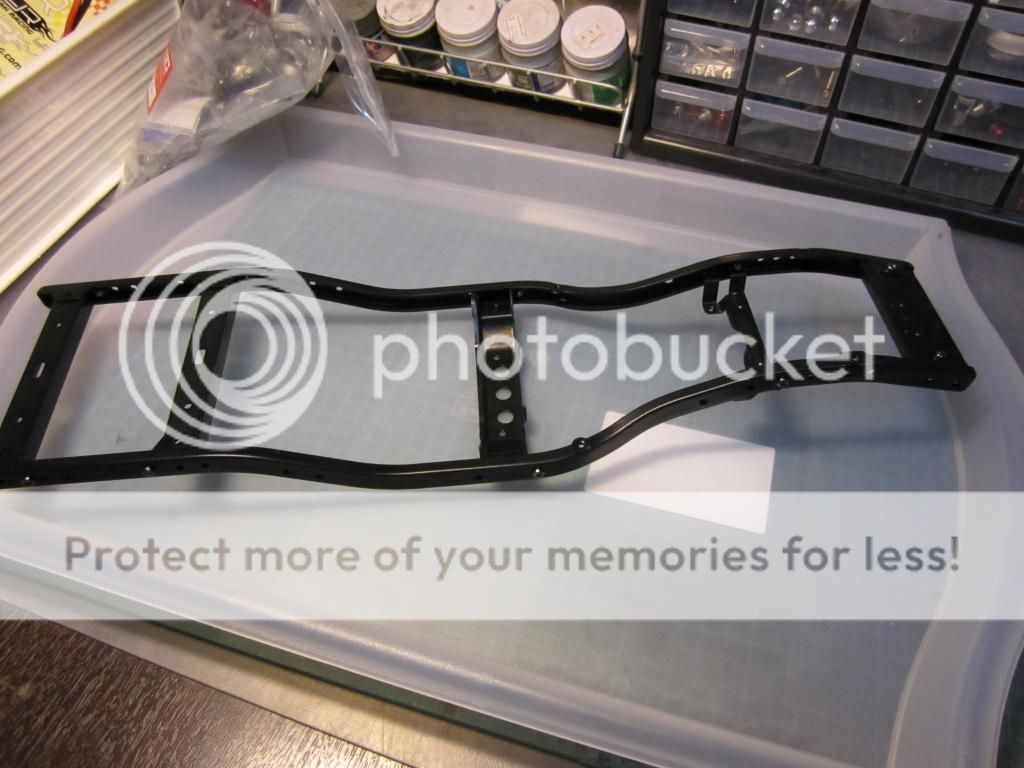
The ladder frame comes pre-assembled, I removed all the screws to assemble again with tread locker.
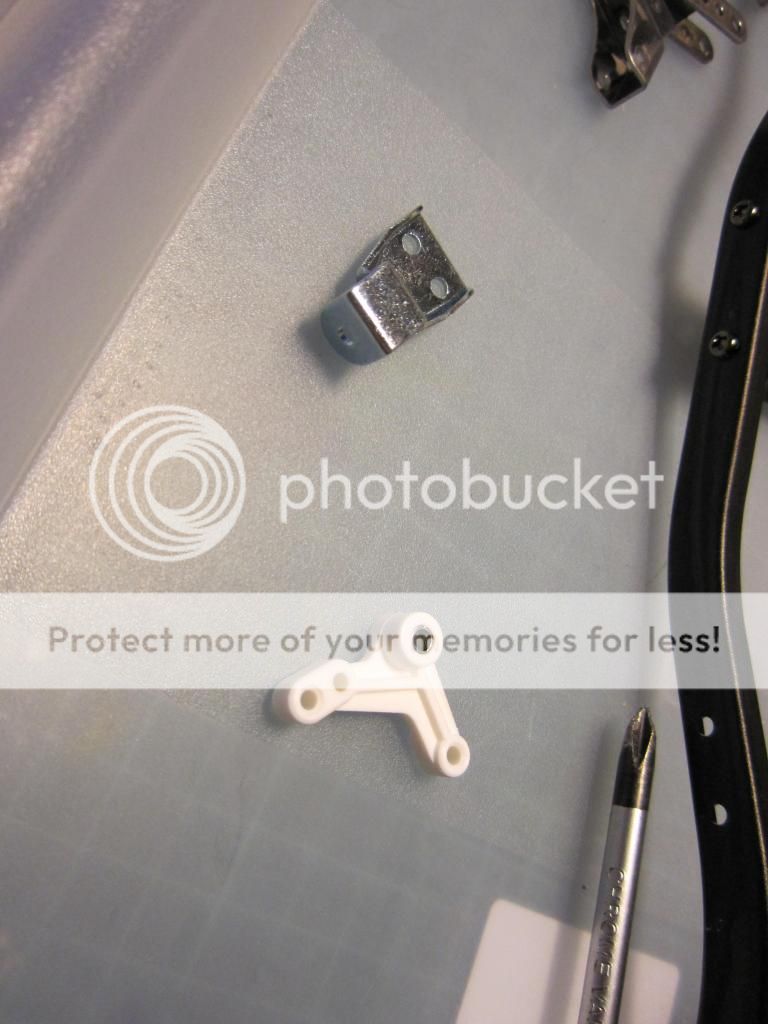
Here is the steering hinge which is made out of plastic.... might need to upgrade it if need to do some hardcore crawling.
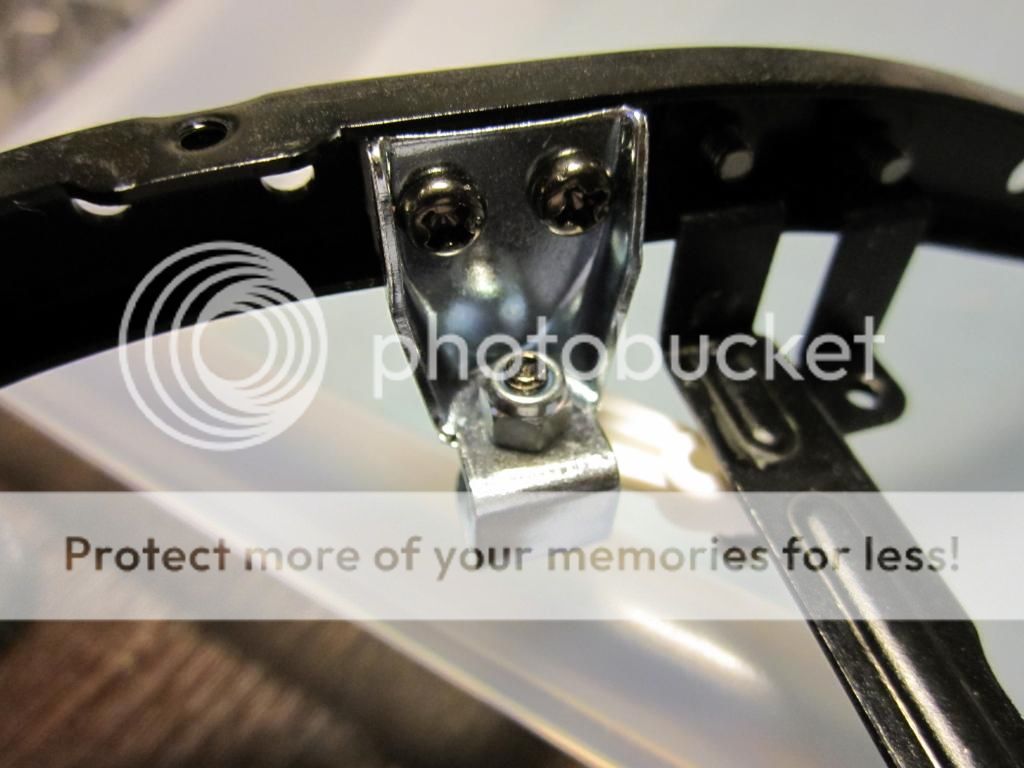
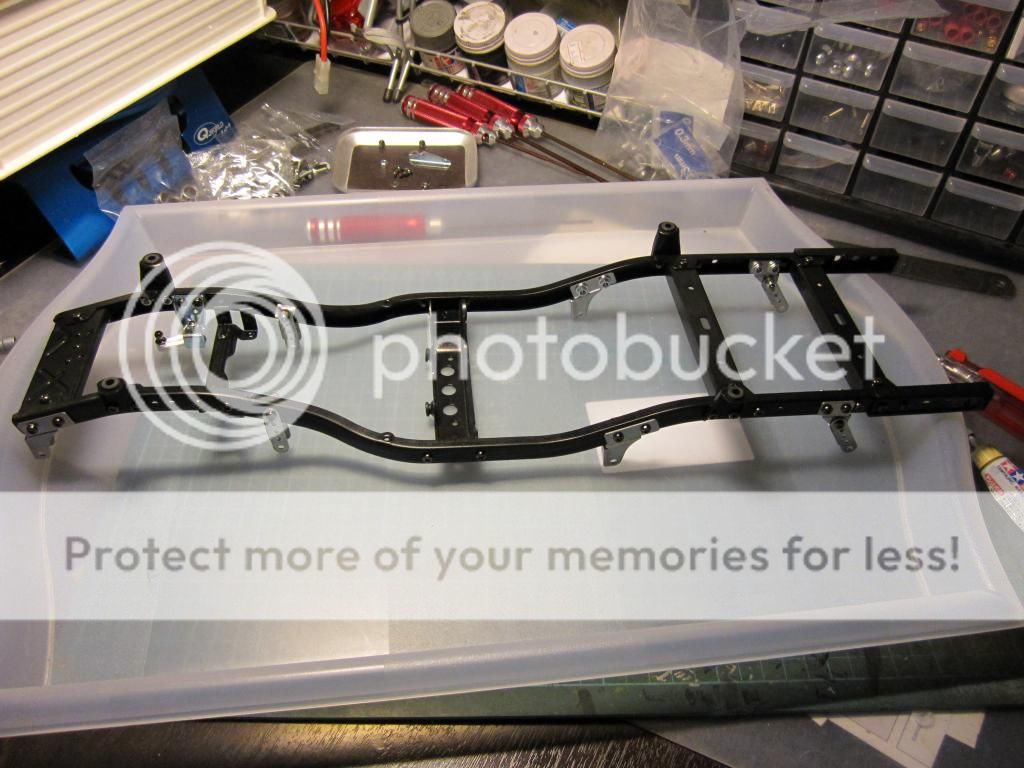
Next will be the suspension mounts.
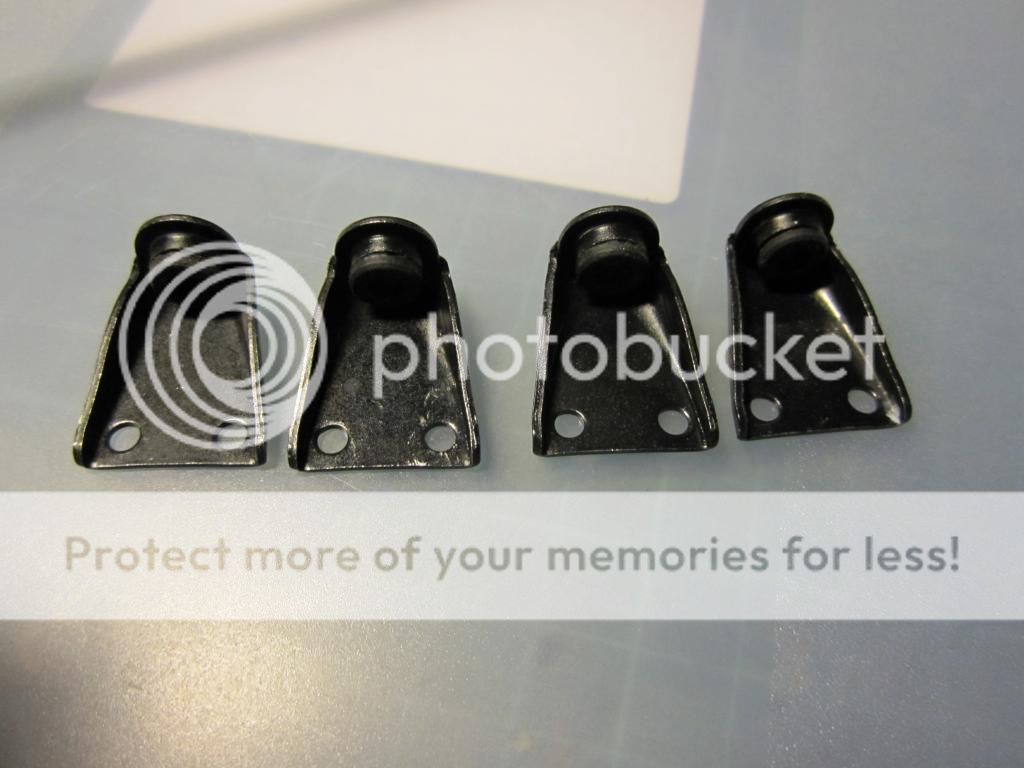
Not to forget the rubber bushing. Another not good thing about tamiya is that all the screws are using philip head and can easily strip if to much force is applied.
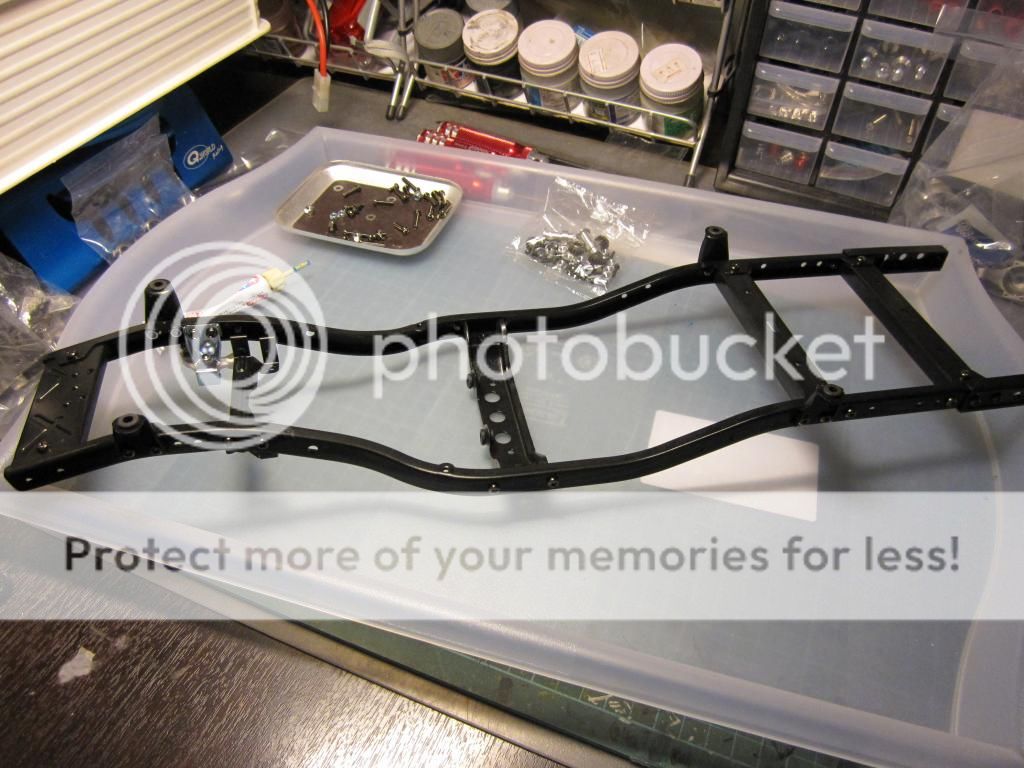
Pretty straight forward when assembling the ladder frame but the searching for the correct screws is not easy.
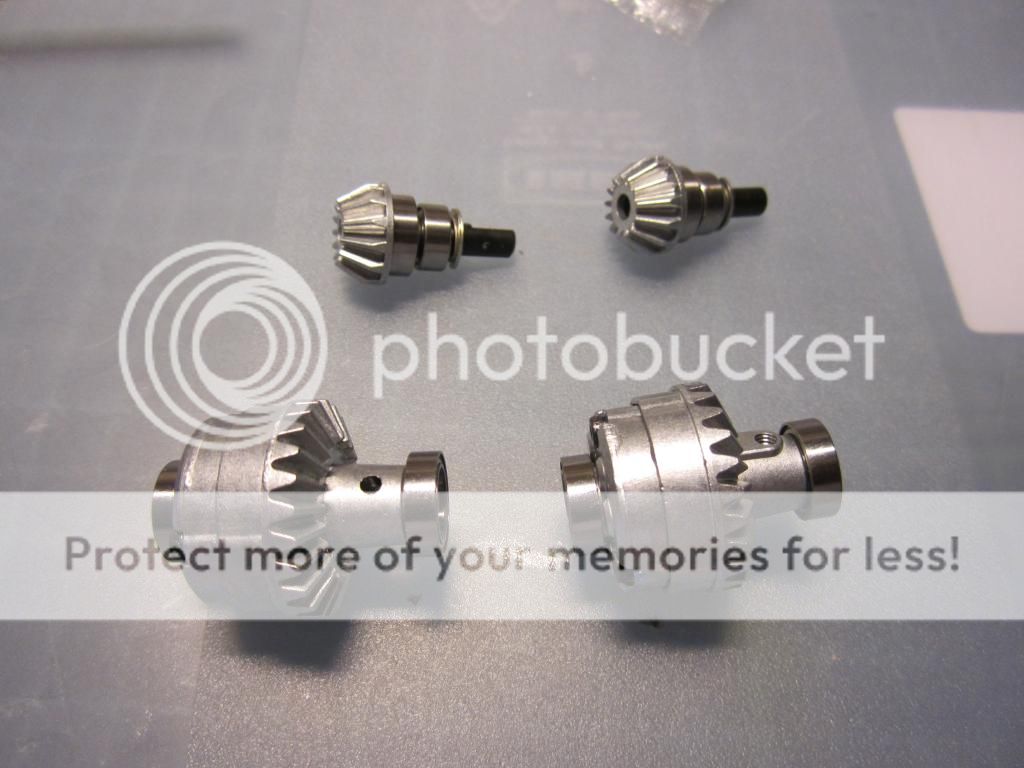
Next is the differential which as usual needs to be grease and assemble using threadlocker.
And not to forget marine grease to be applied generously.
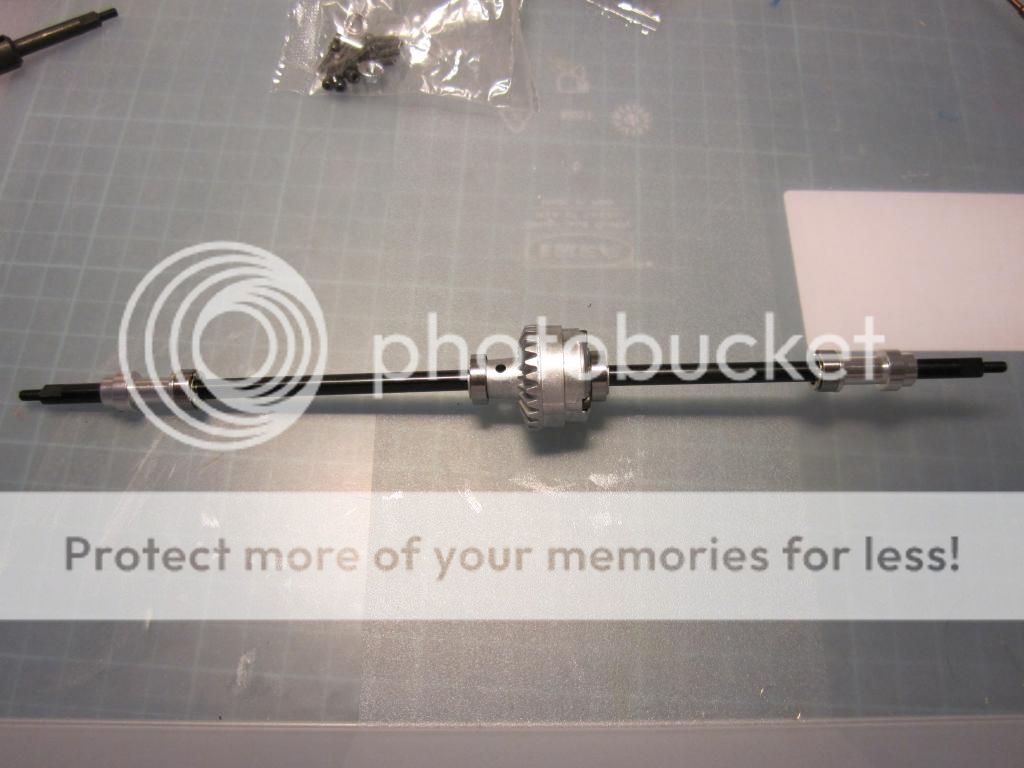
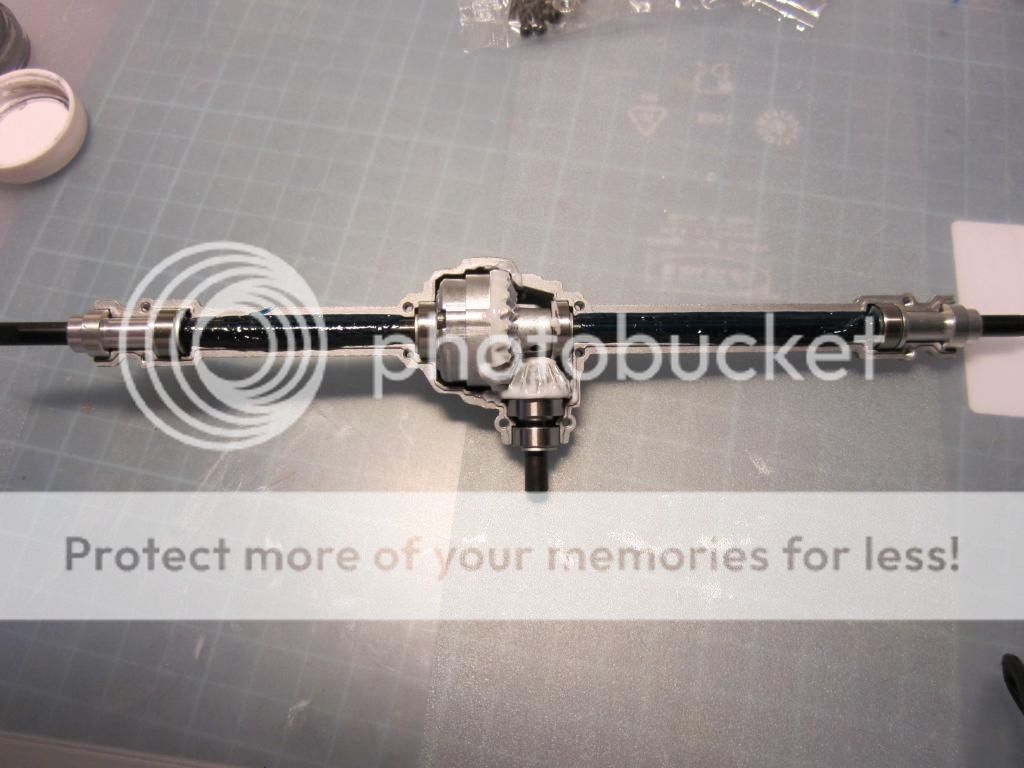
One thing different about this differential that it can either run locked for crawling purpose or it can run unlocked like a normal rc car with a switch of a screw mounted at the center of each diff.
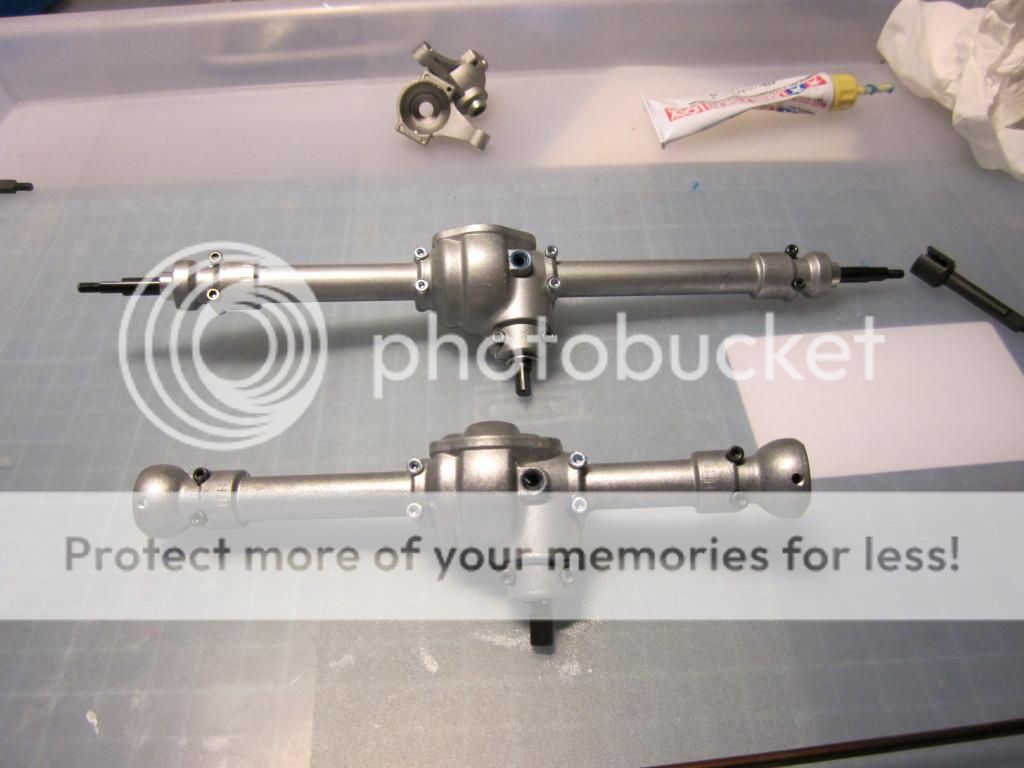
Thats the end of the bag A
To bag B next.
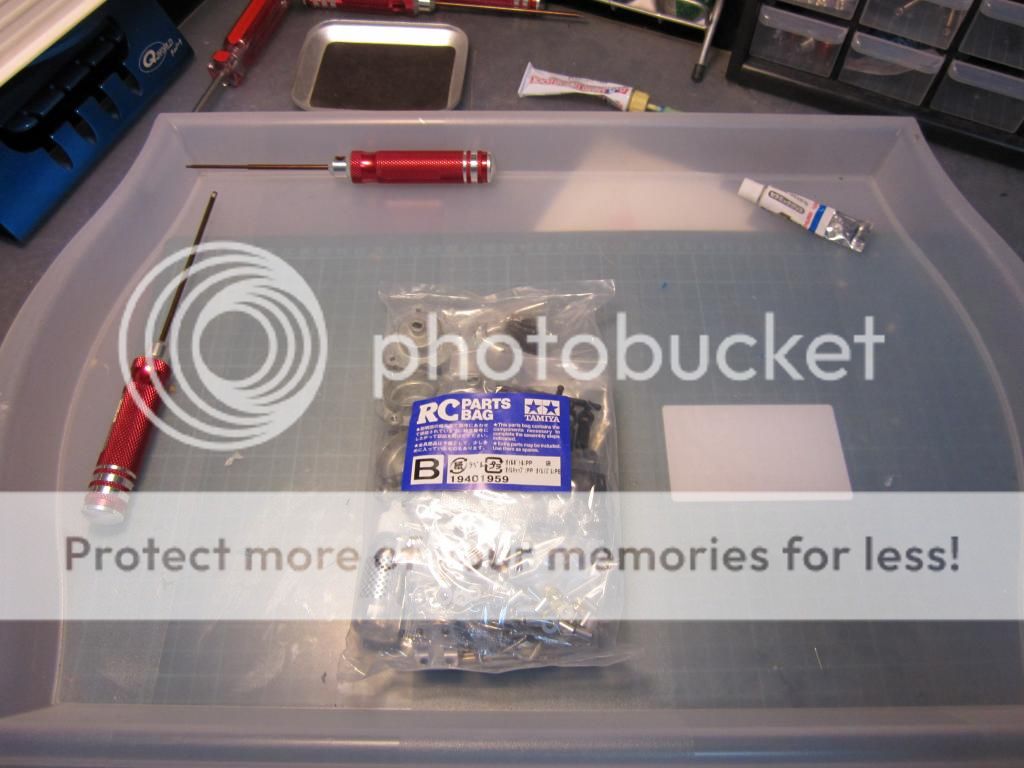
Before I start this, I would like to apologize for the late updates. Been busy lately.....kekeke!
Items containing in bag B.
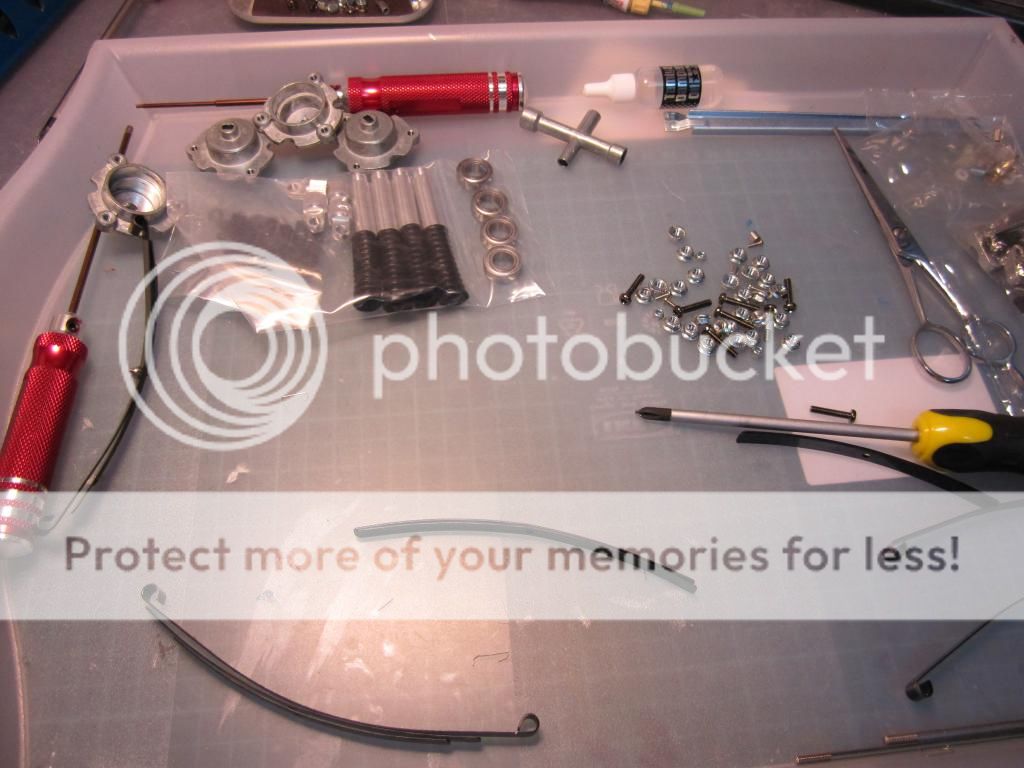
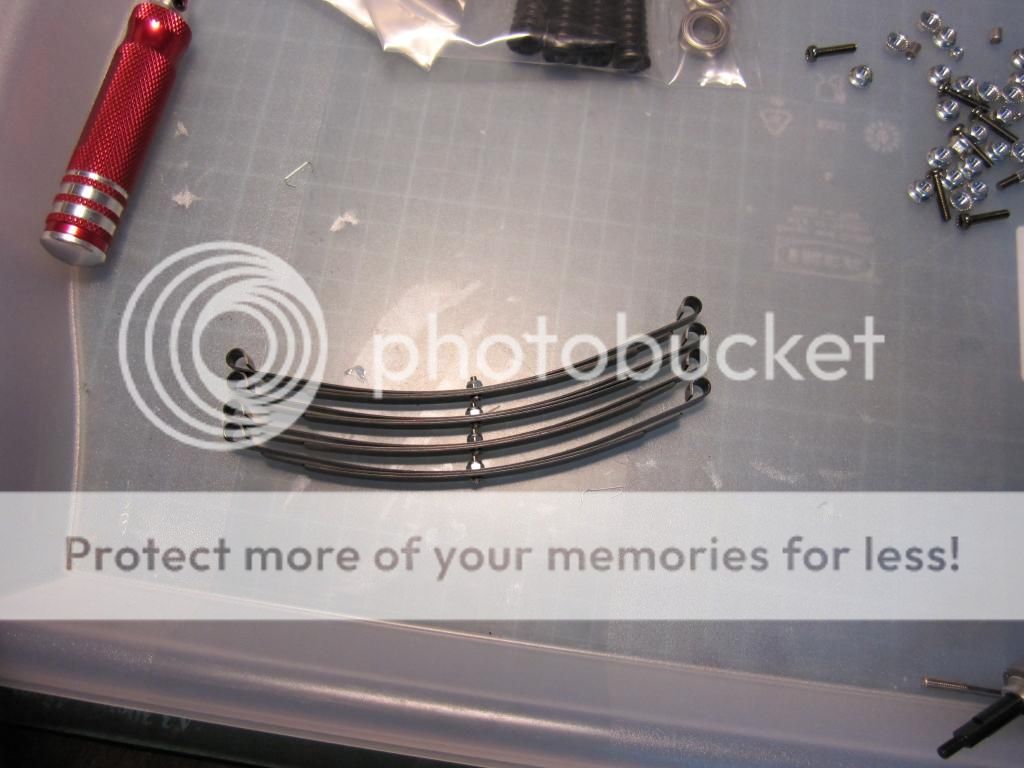
All 4 leaf springs assembled.
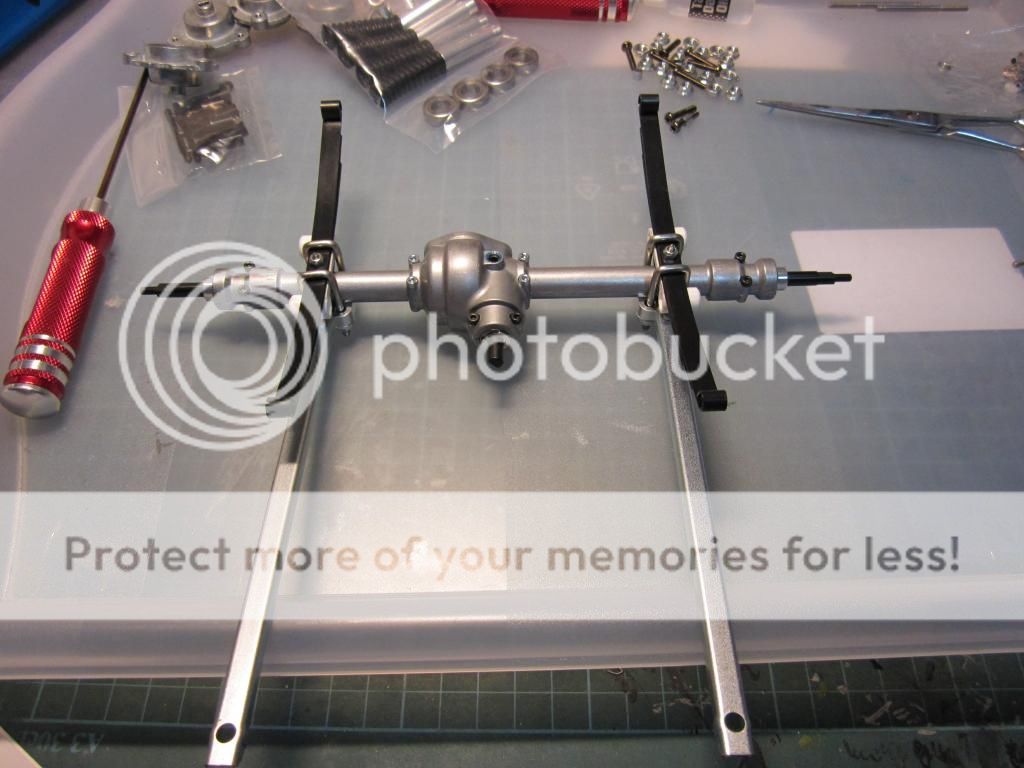
Start with the rear drive train. Don't forget to add threadlocker where required.
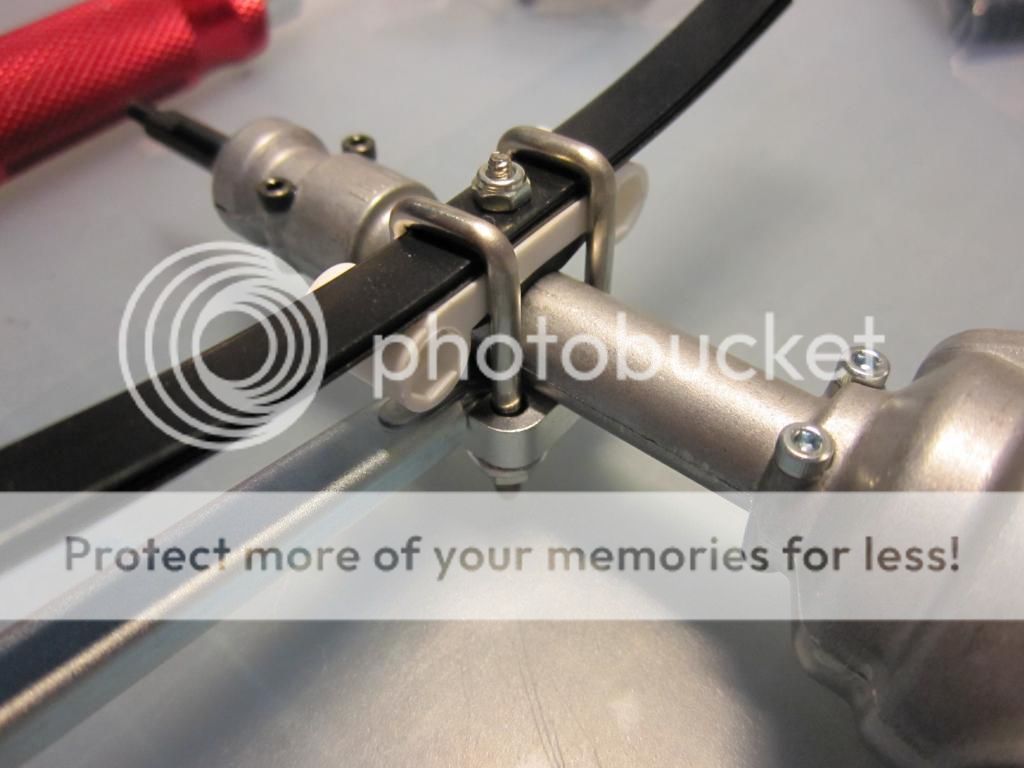
There is marking on the axles to ensure that both sides are fixed level.
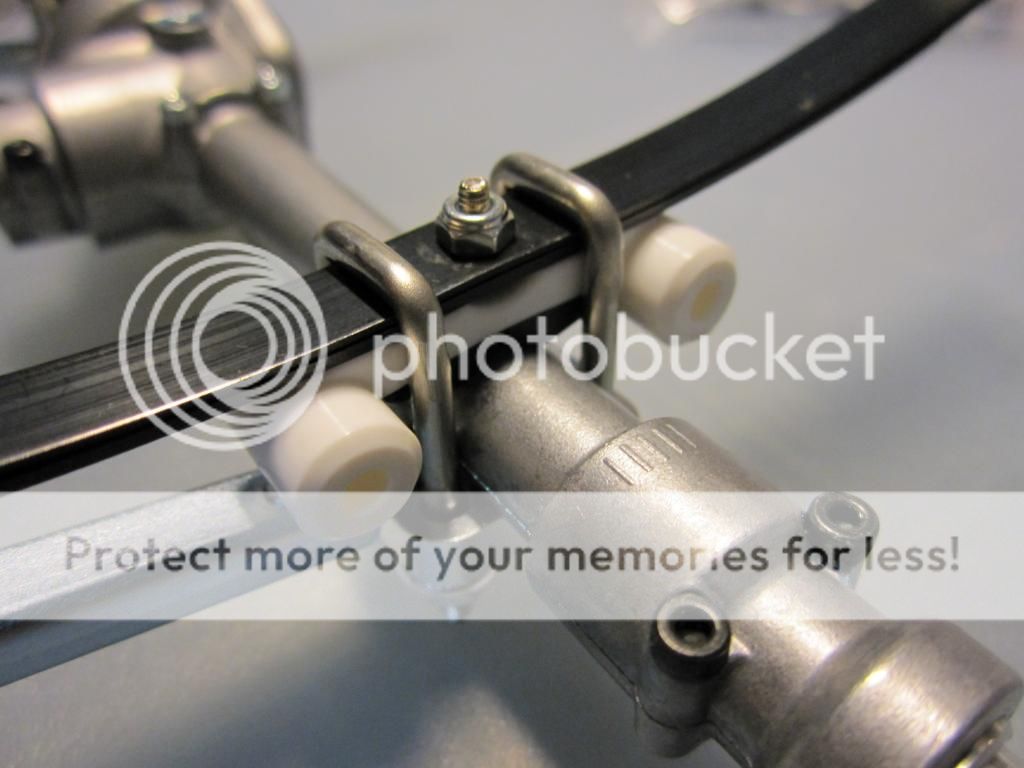
Do the same assembly for the fwd axle.
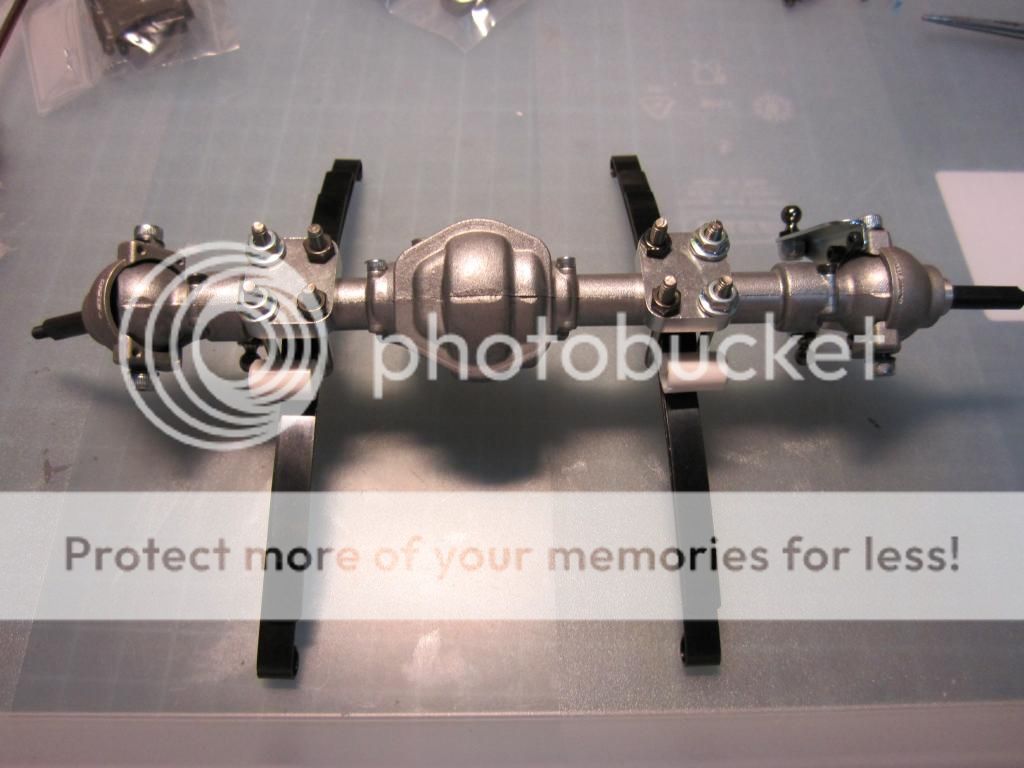
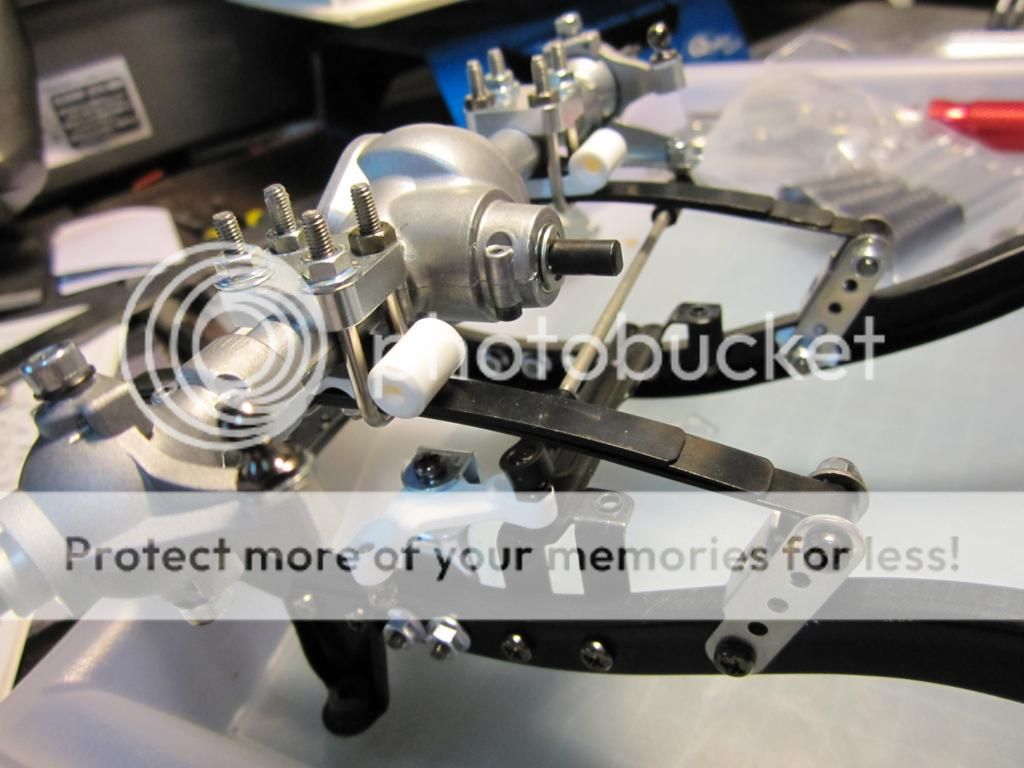
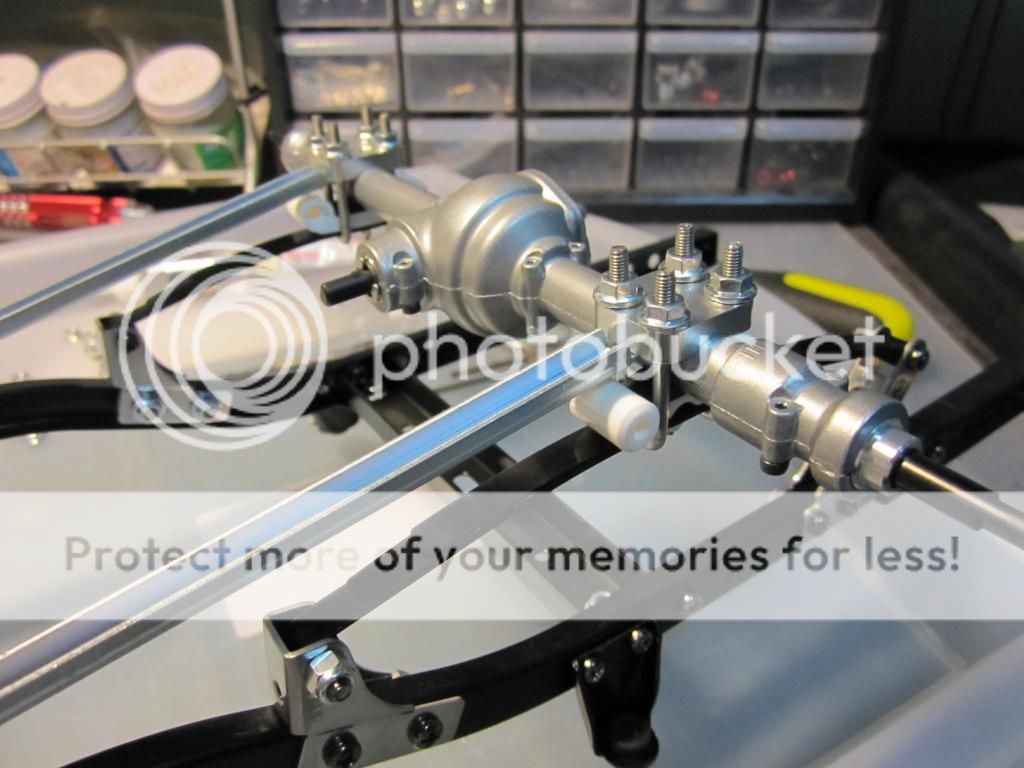
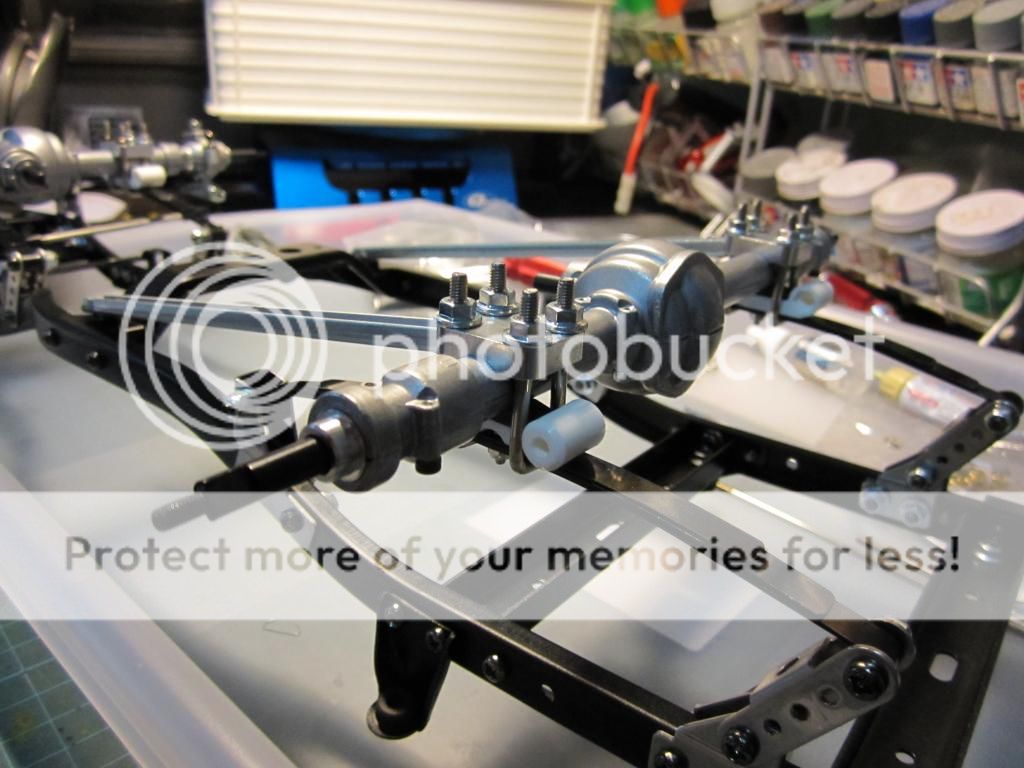
Hook up the rear axle and followed by the the fwd steering axle.
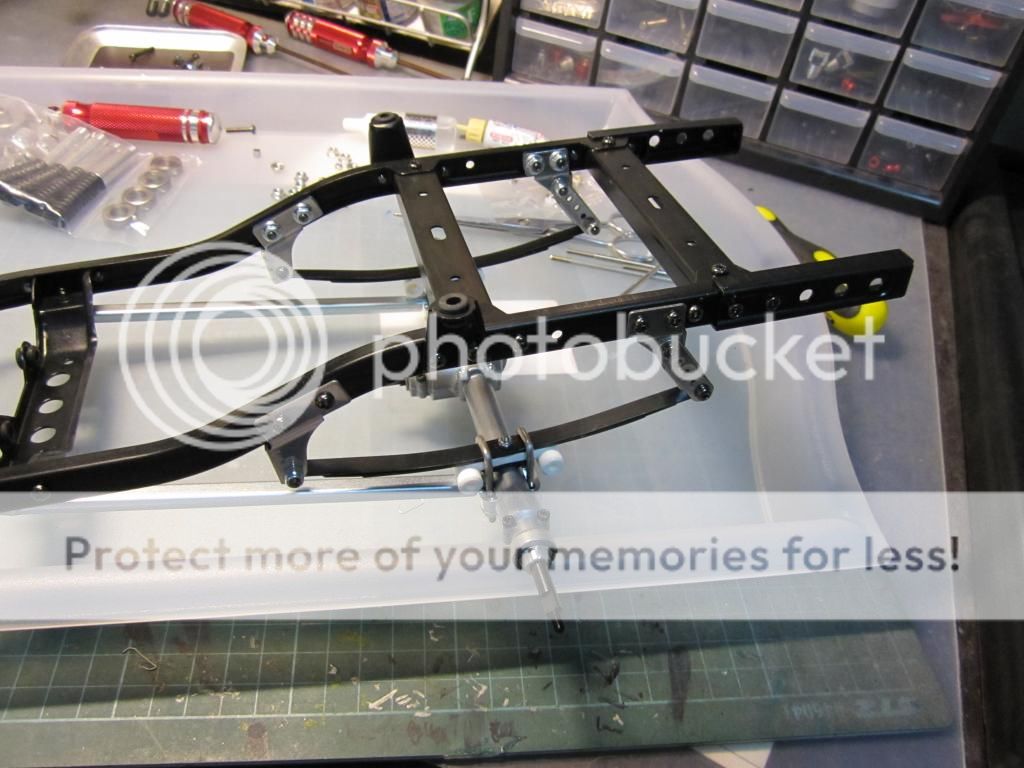
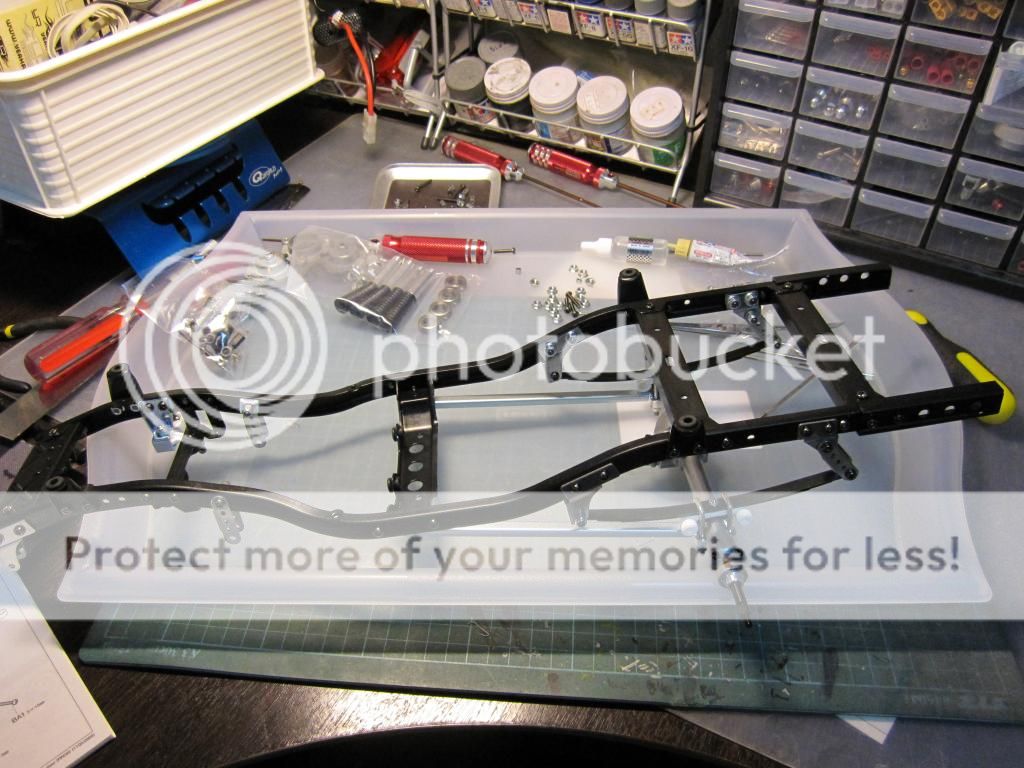
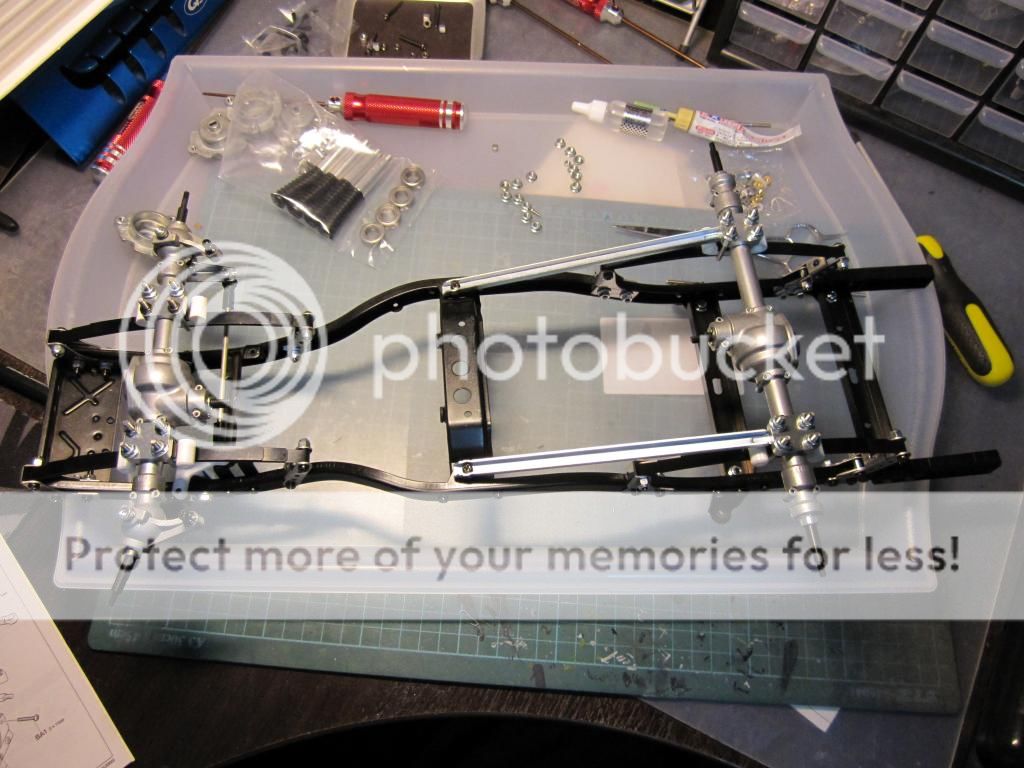
Not a very good design for the steering rod.
Next is assembling the shocks which is standard for all vehicles.
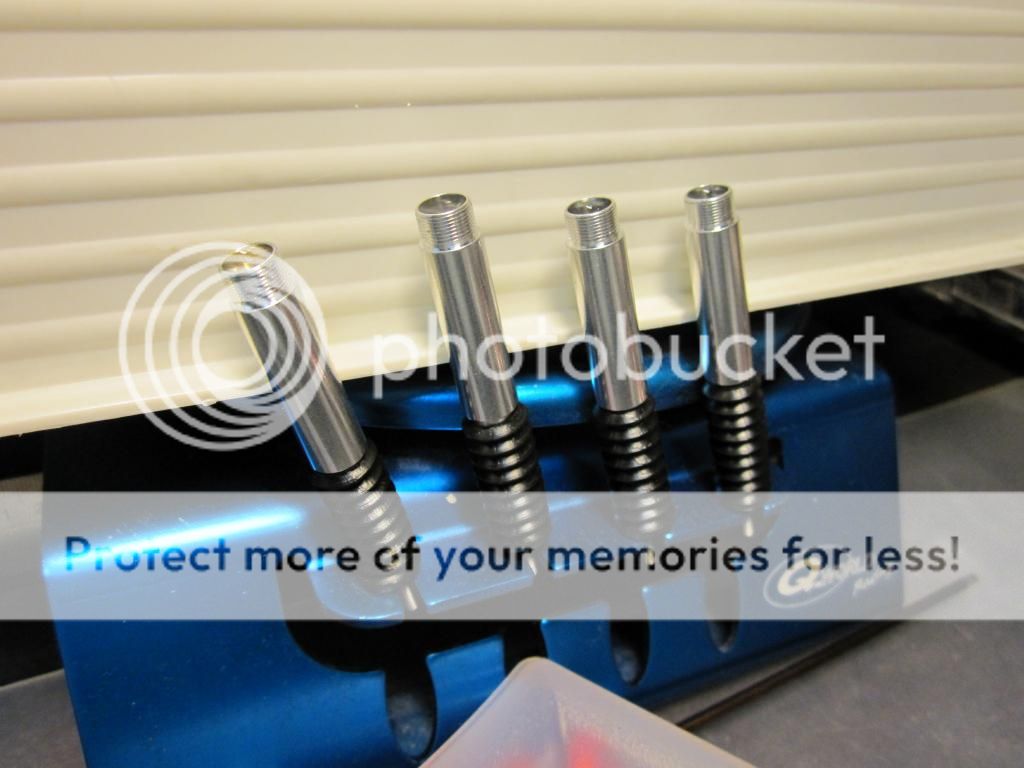
Shock oil provided in the kit.

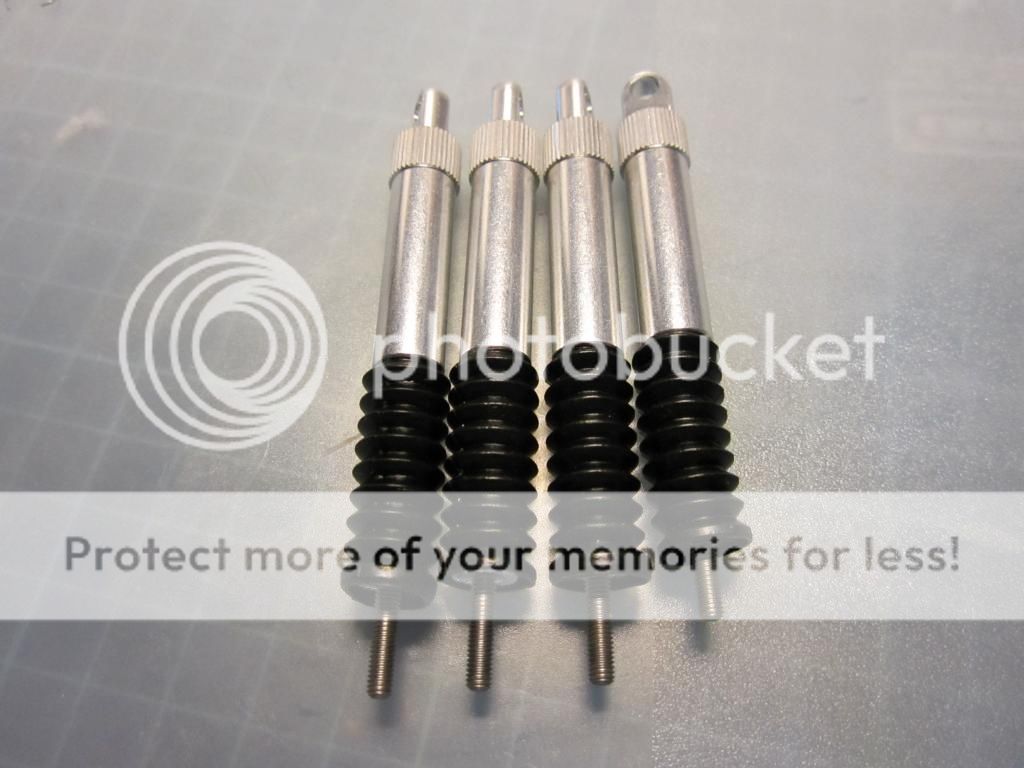
Mount the shocks.
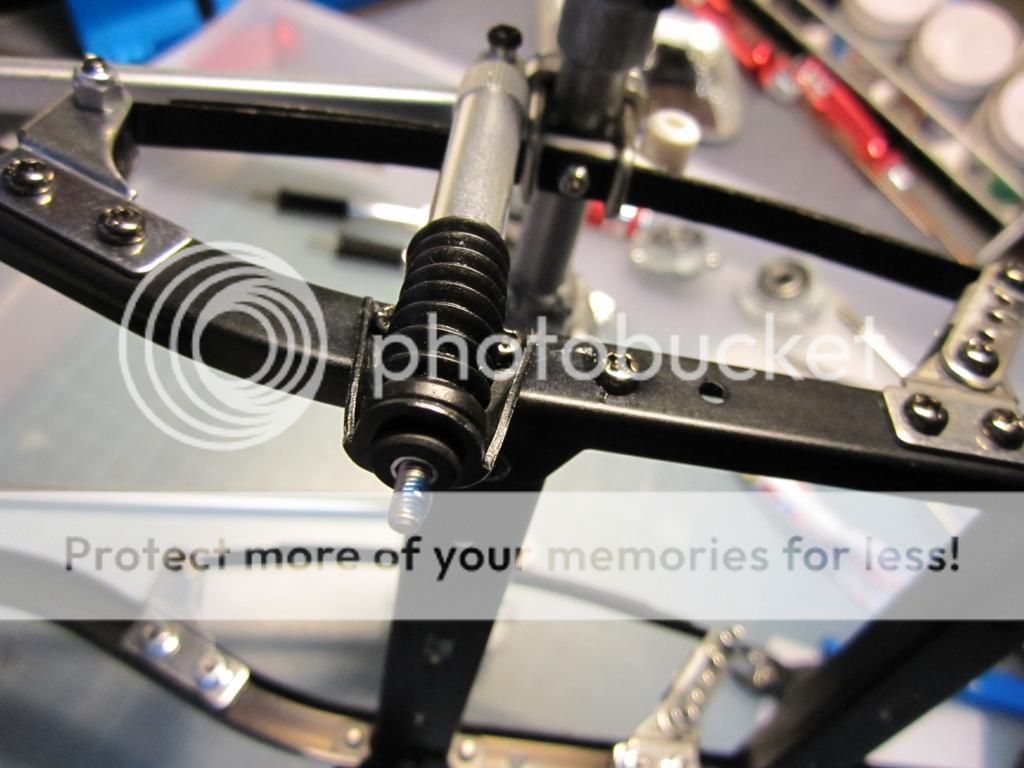
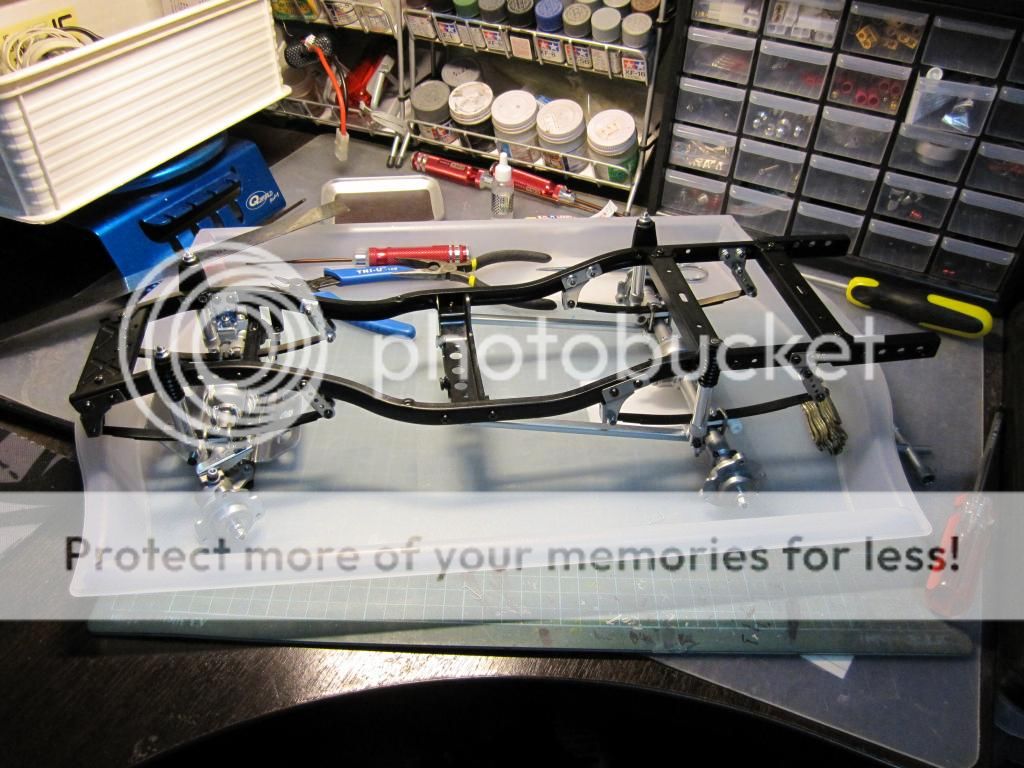
Thats it for bag B.... Now on to bag C.
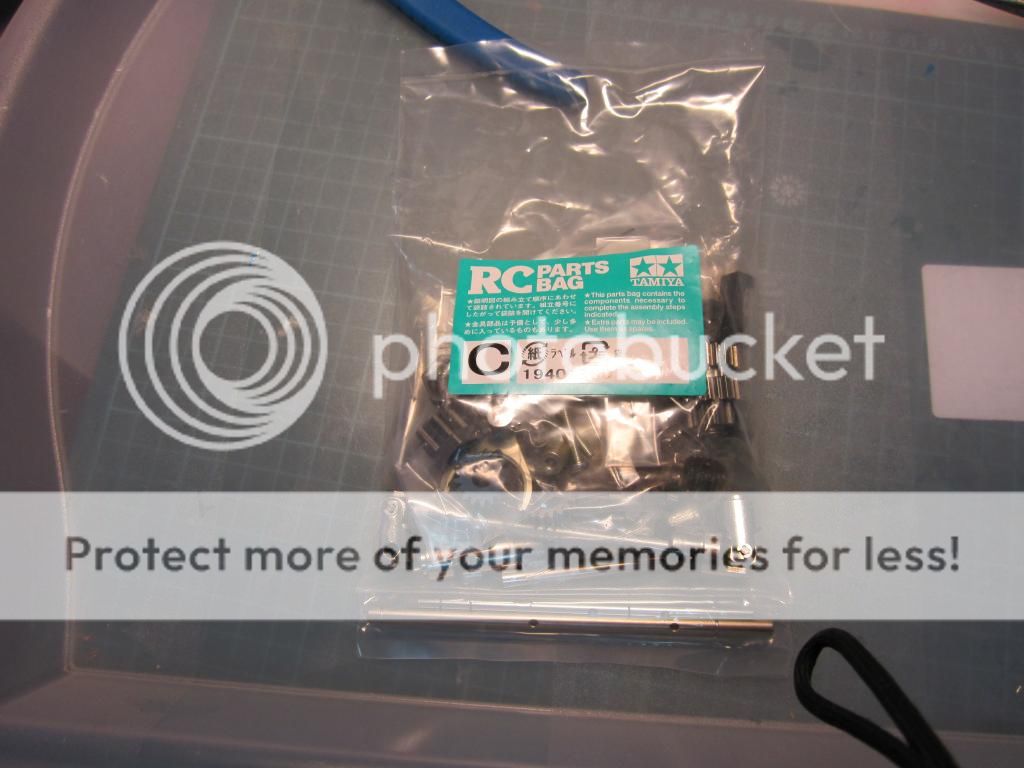
Before starting on bag C... It would advisable to get a magnetic container as to not lose any parts. this bag contains most of the gearbox part to assemble the 3 speed transmission.
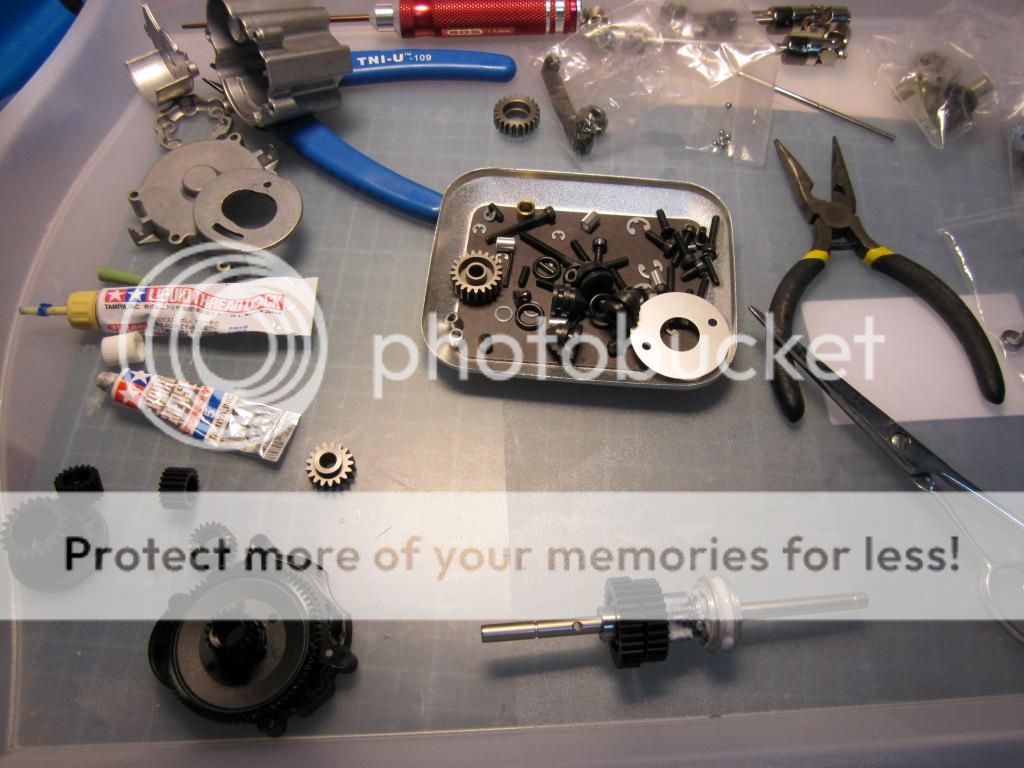
Take time reading the manual before starting ass not to mess up the sequence.
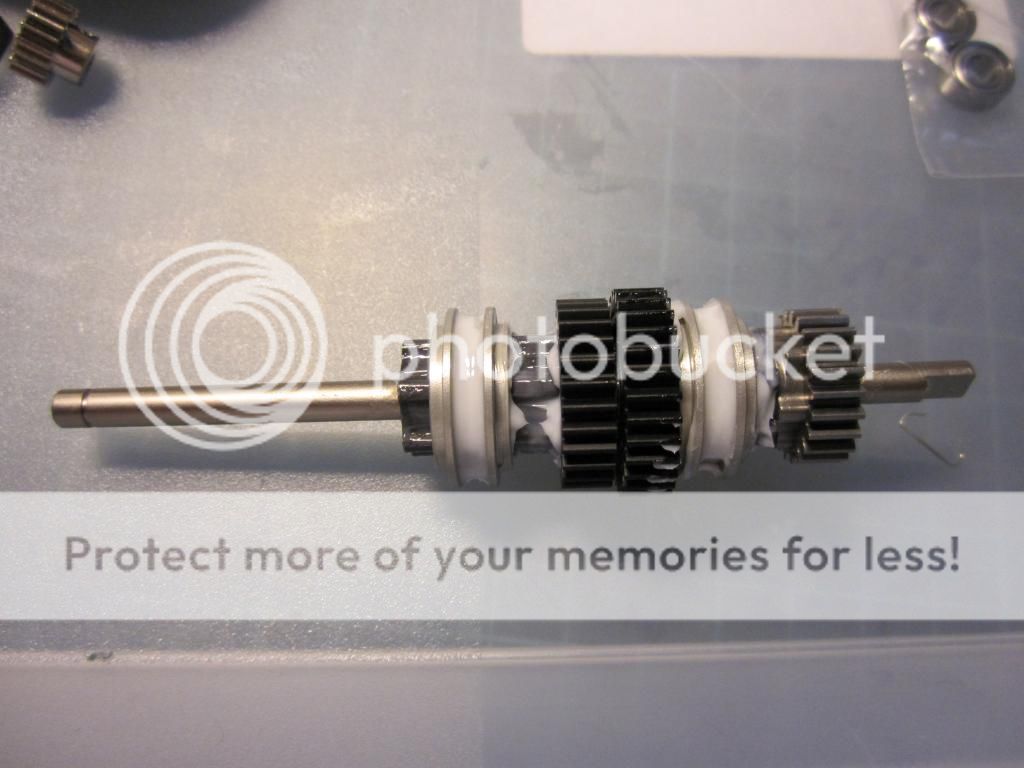
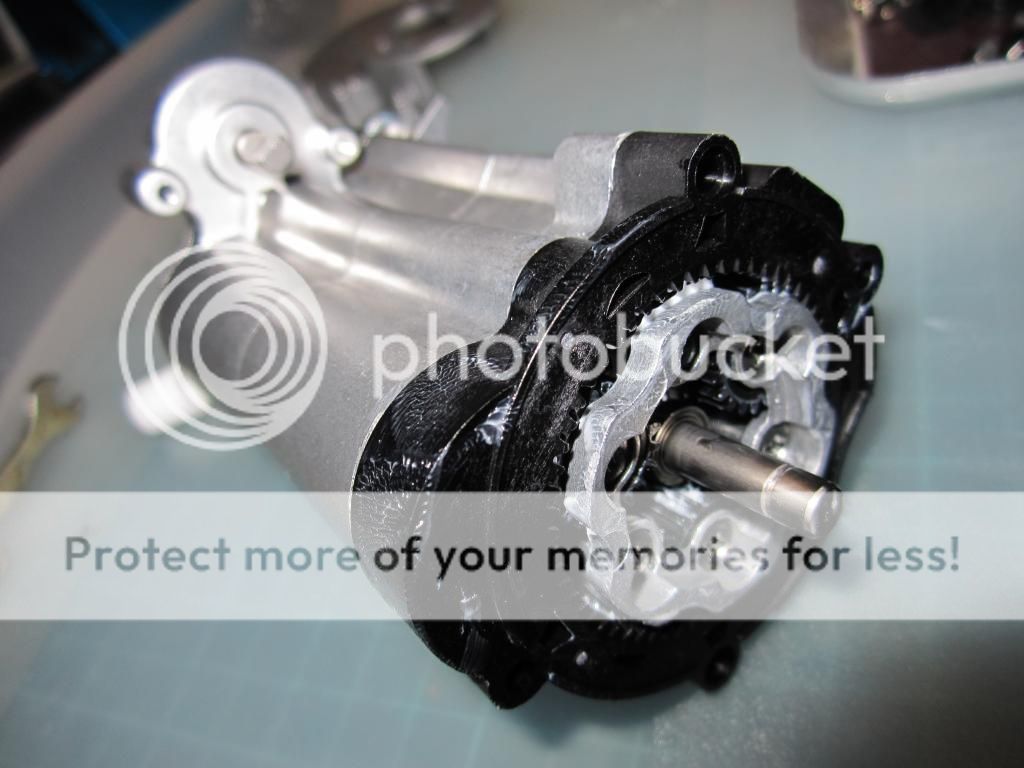
Assembled and ready to be fitted to the chassis.
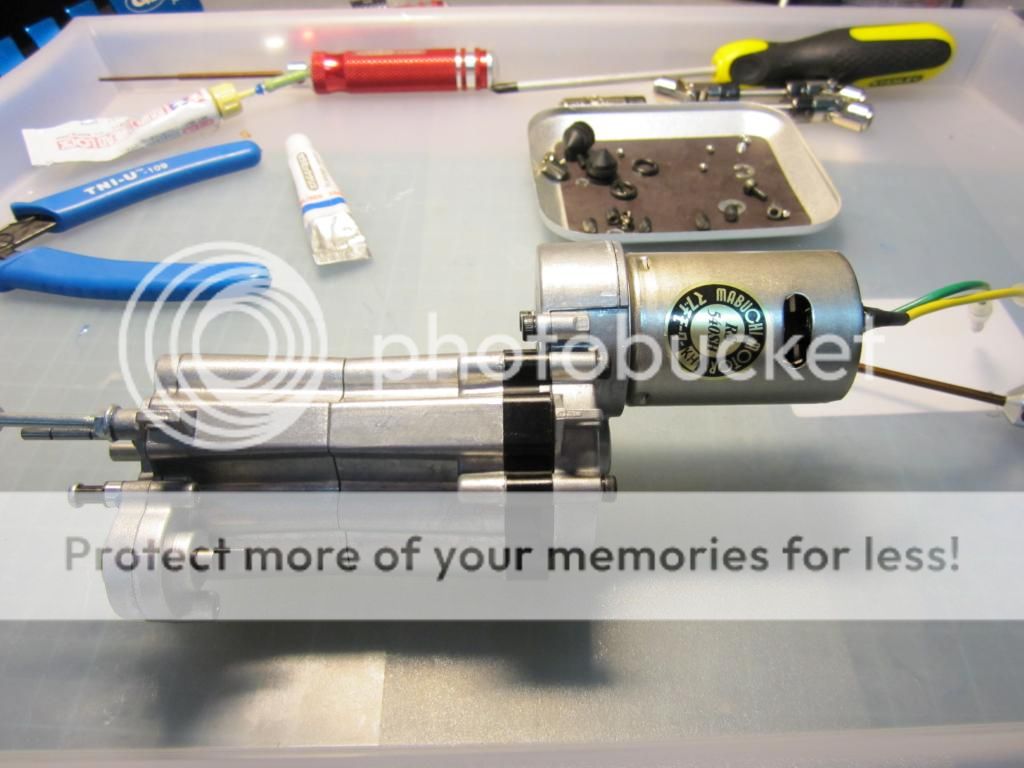
Looking quite good after bag A, B & C.
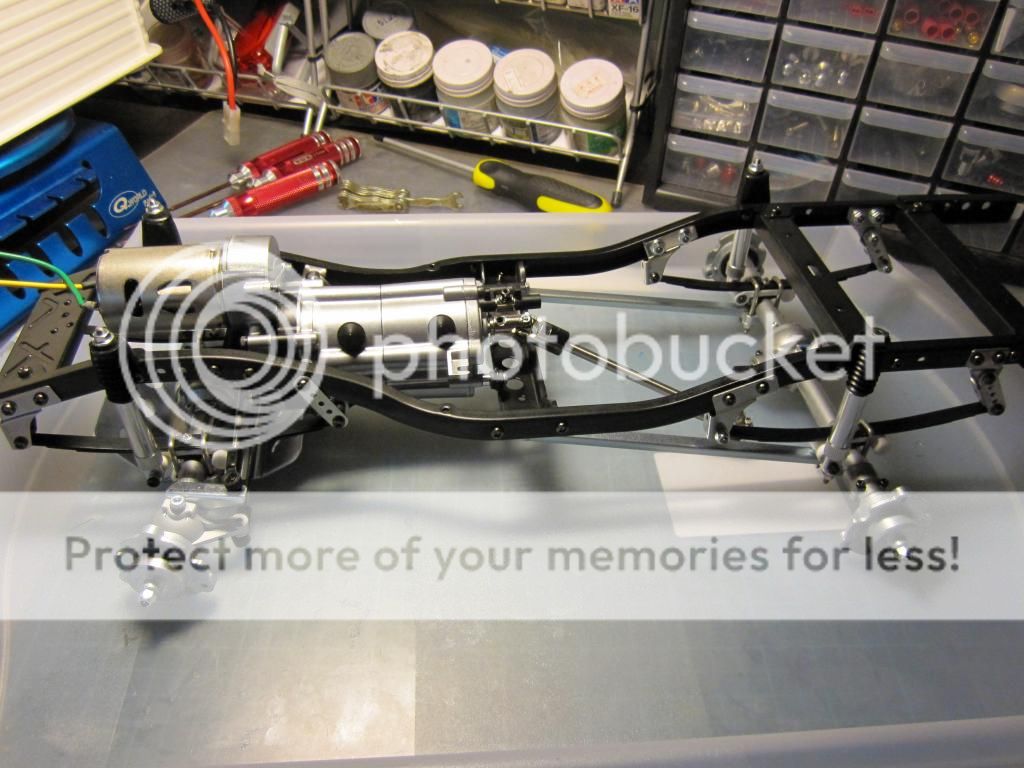
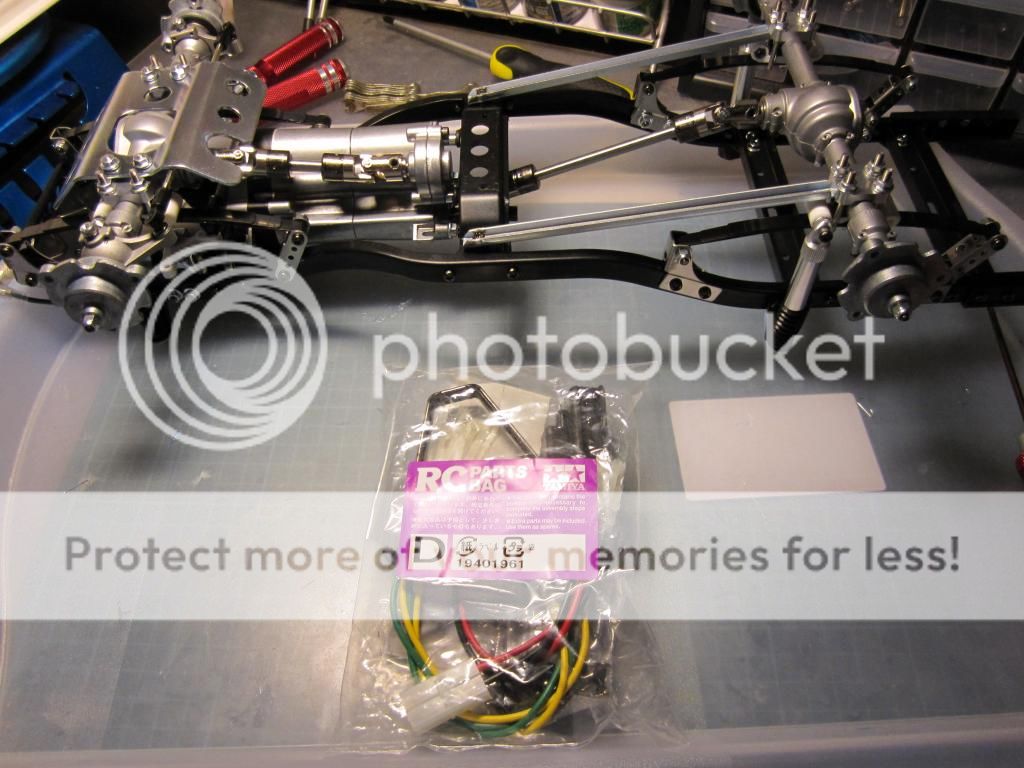
Bag D mostly consist of accessories to fully assemble the electronic parts of the kit.
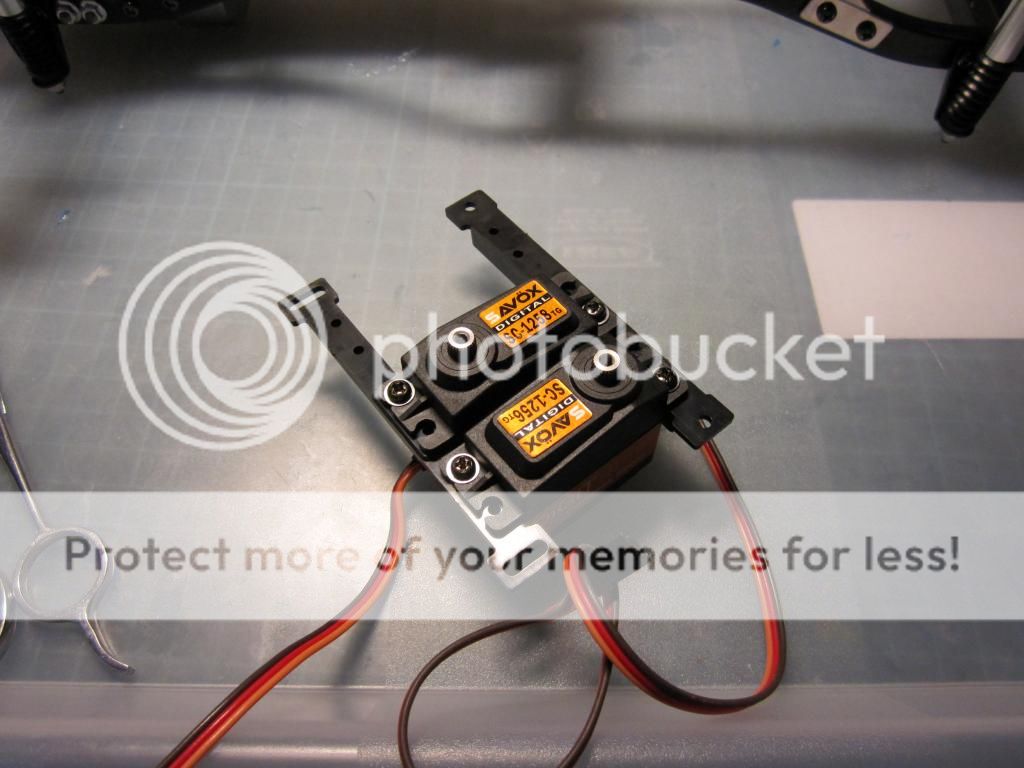
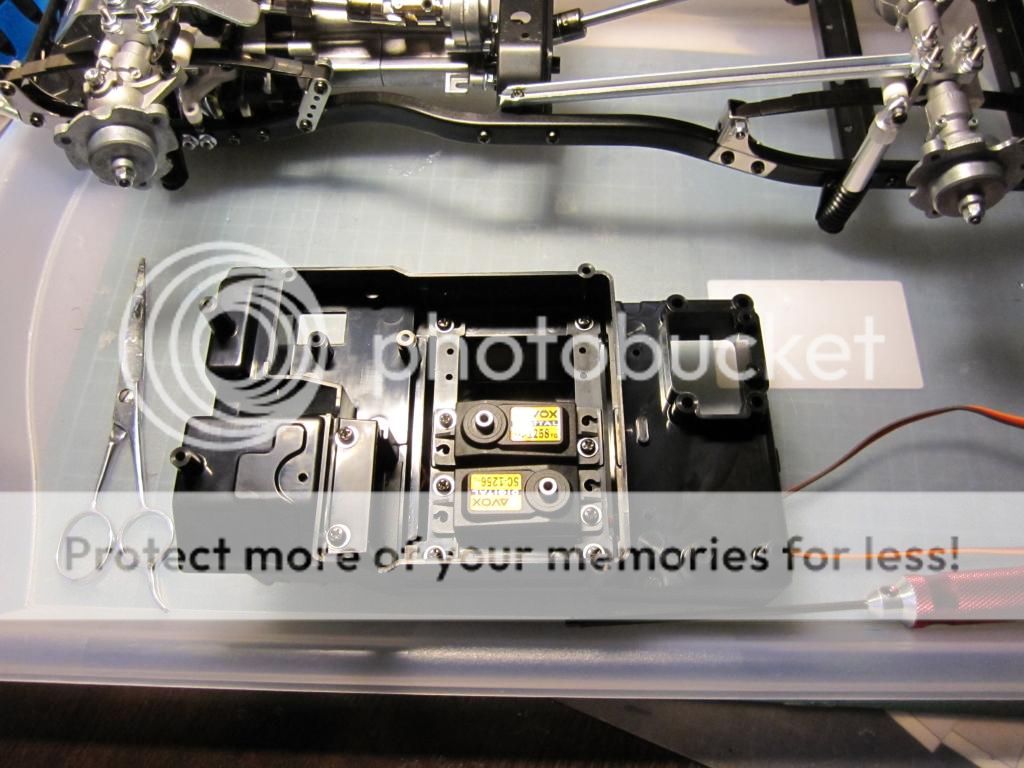
Shafts for the transmission and steering installed. The steering rod is not very good design as it tend to flex under great deal of torque.
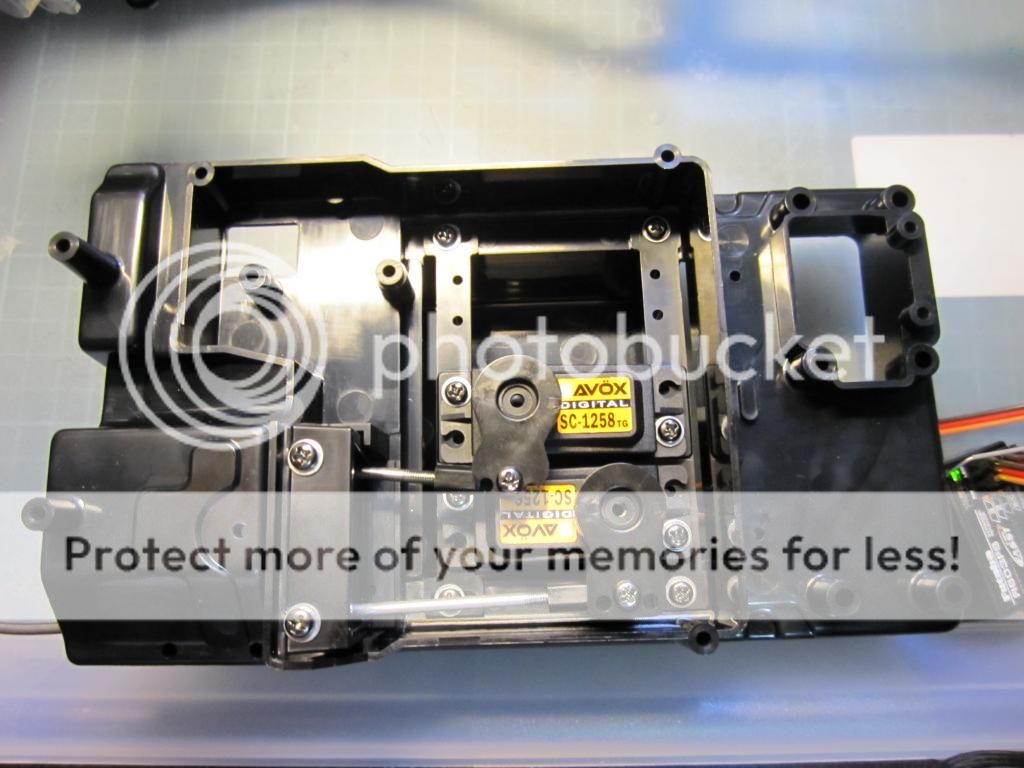
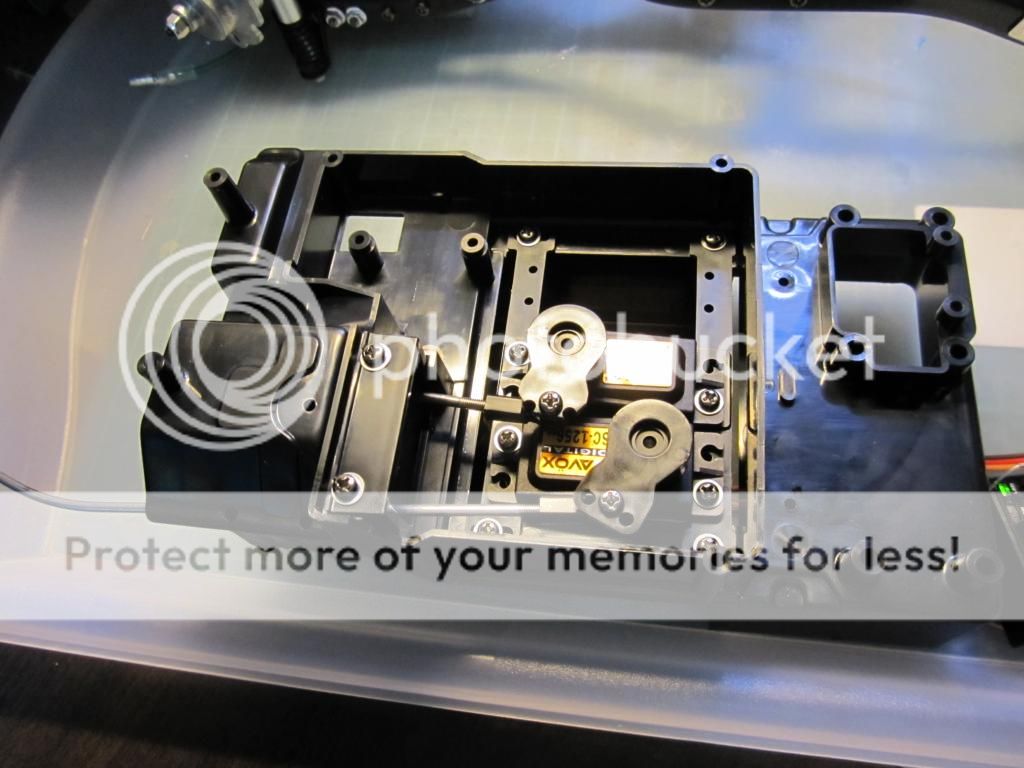
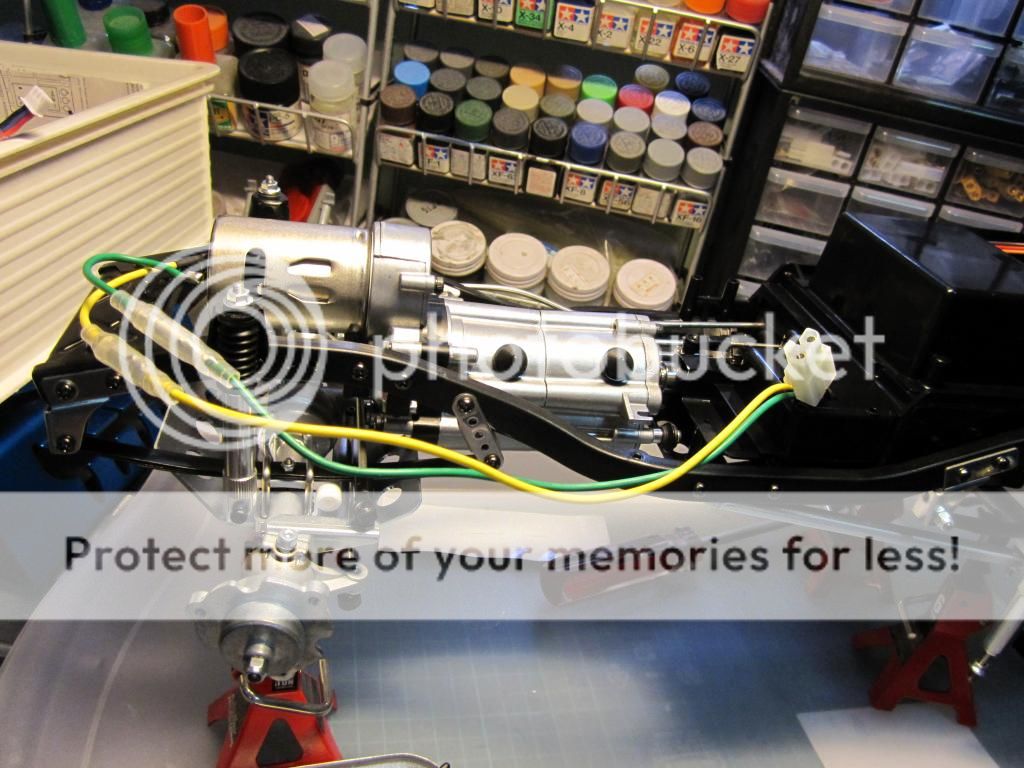
Wiring in progress.
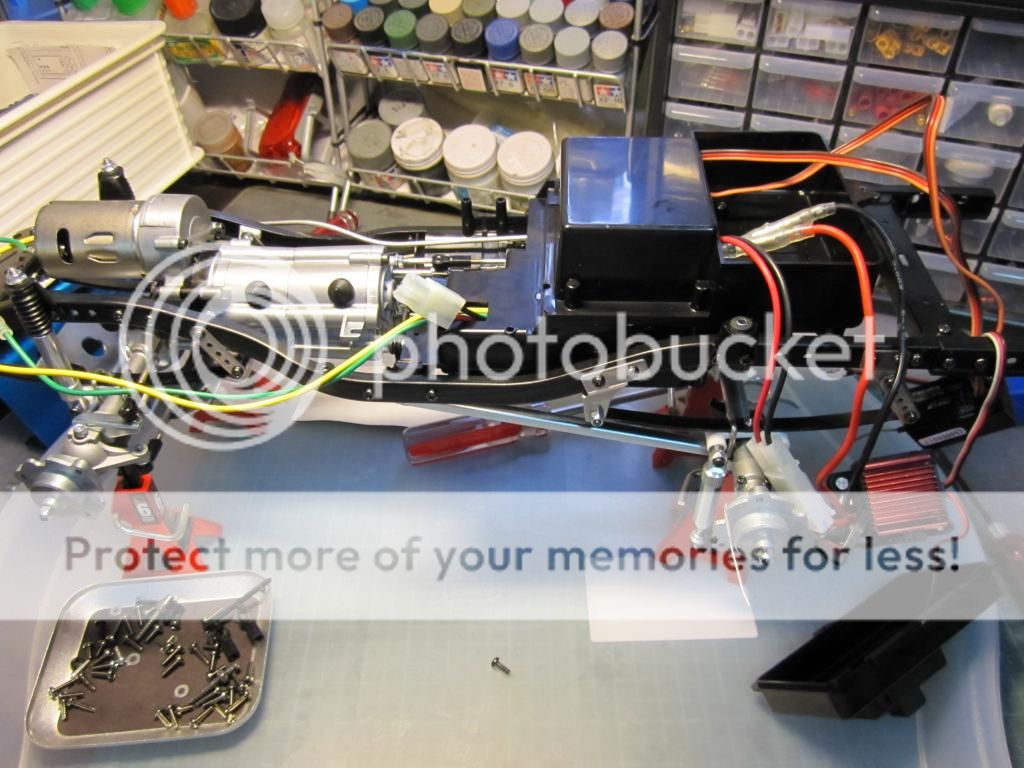
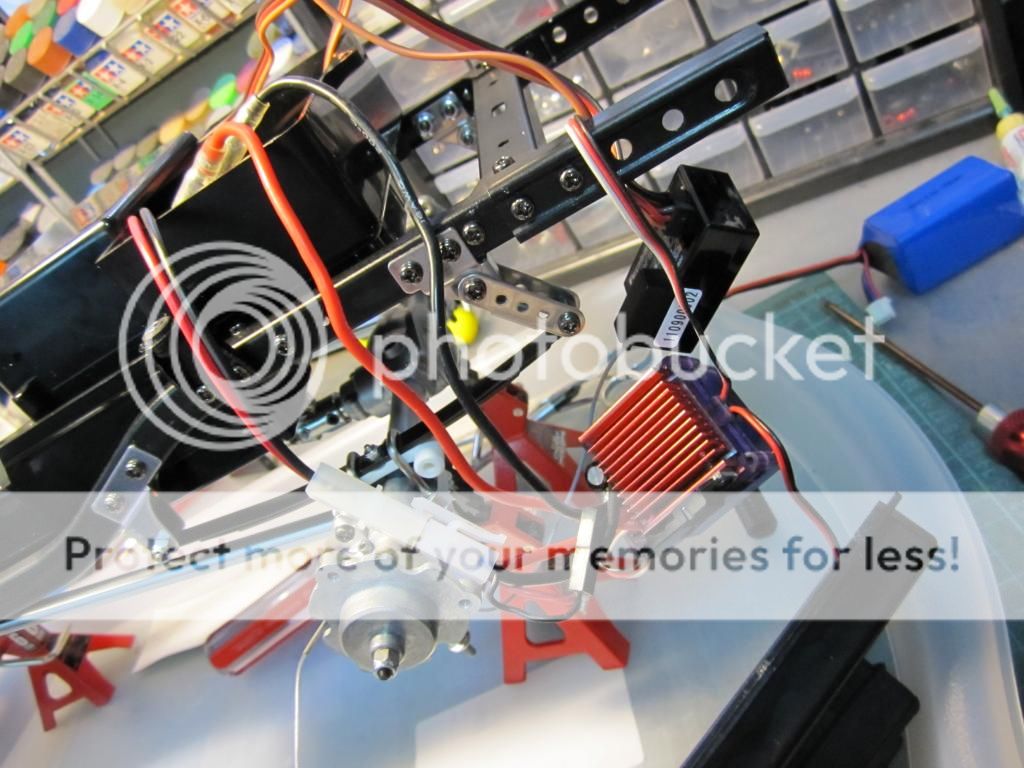
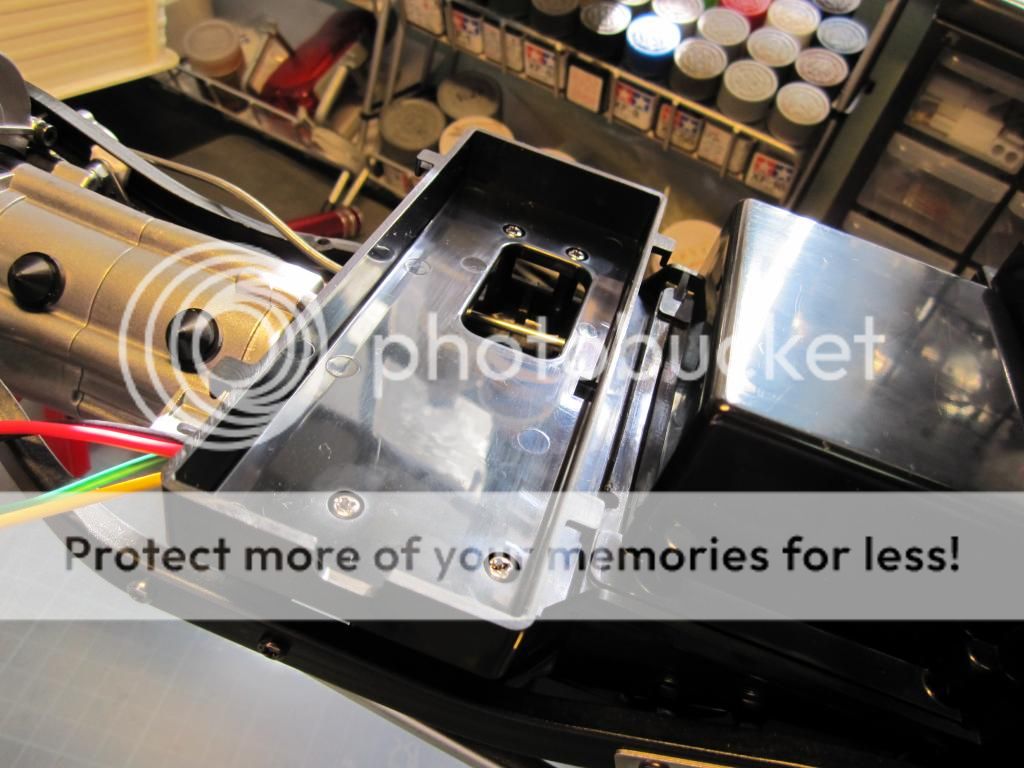
The battery tray.
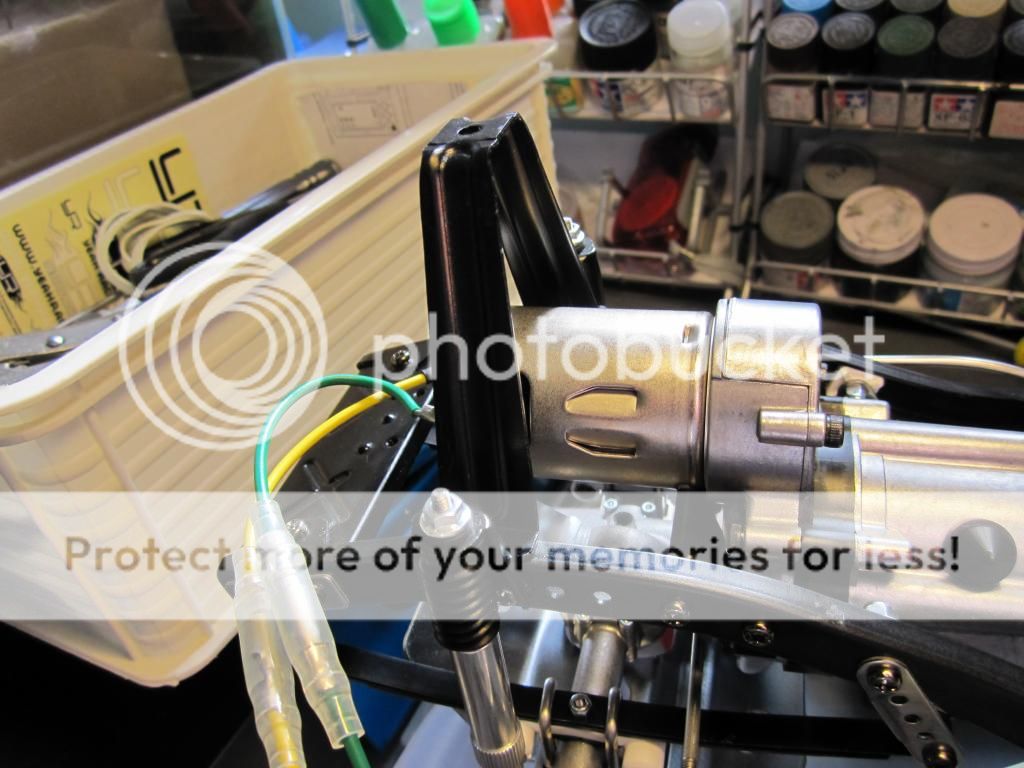
Cover mounts.
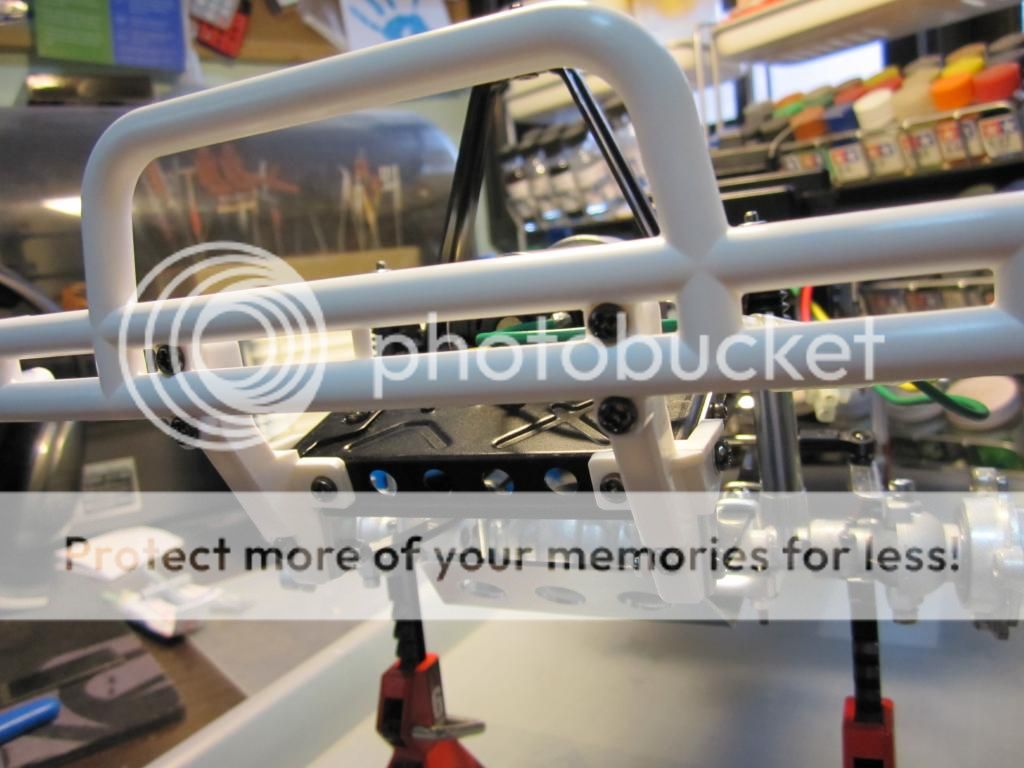
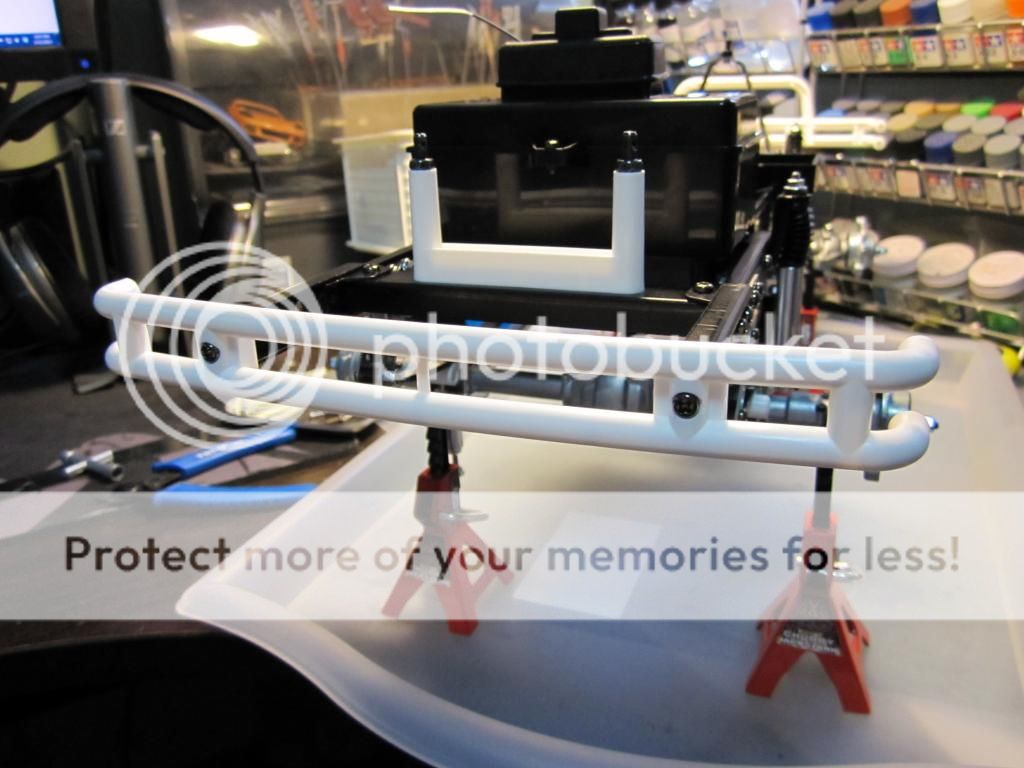
Front bumper mounted.
Rear bumper mounted.
Stunning with the legendary big wheels
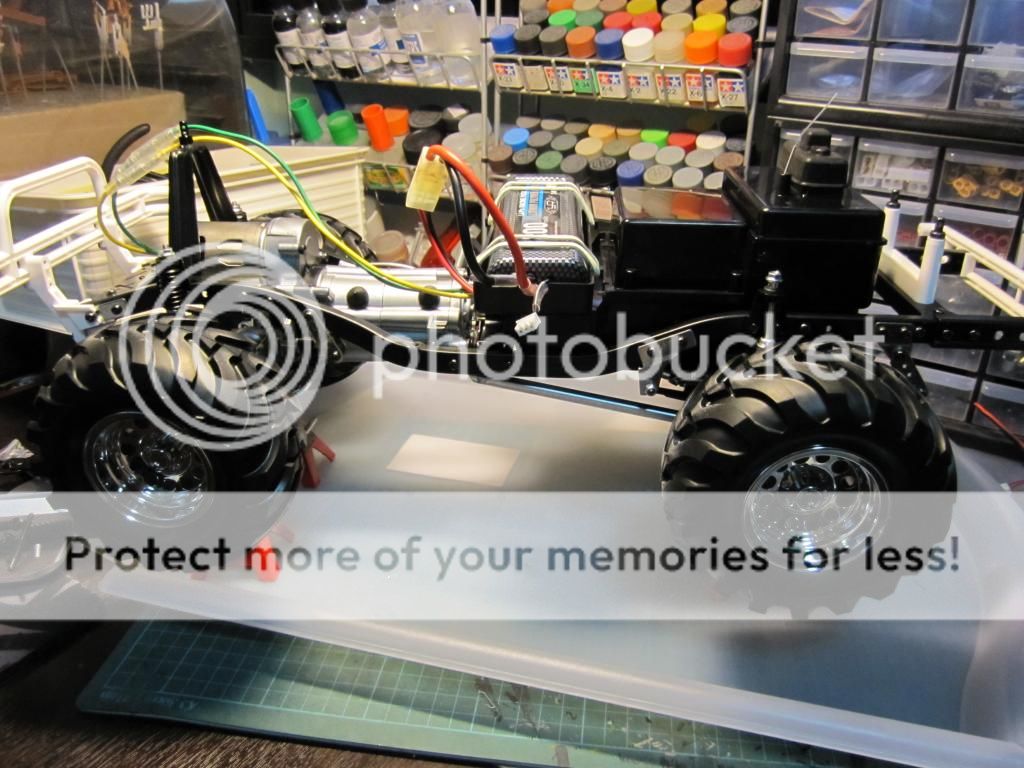
Testing my 3 Speed transmission after the final adjustments.

Inside the package A are basically things you need to assemble the chassis.

The ladder frame comes pre-assembled, I removed all the screws to assemble again with tread locker.

Here is the steering hinge which is made out of plastic.... might need to upgrade it if need to do some hardcore crawling.


Next will be the suspension mounts.

Not to forget the rubber bushing. Another not good thing about tamiya is that all the screws are using philip head and can easily strip if to much force is applied.

Pretty straight forward when assembling the ladder frame but the searching for the correct screws is not easy.

Next is the differential which as usual needs to be grease and assemble using threadlocker.

And not to forget marine grease to be applied generously.


One thing different about this differential that it can either run locked for crawling purpose or it can run unlocked like a normal rc car with a switch of a screw mounted at the center of each diff.

Thats the end of the bag A
To bag B next.

Before I start this, I would like to apologize for the late updates. Been busy lately.....kekeke!
Items containing in bag B.

All 4 leaf springs assembled.

Start with the rear drive train. Don't forget to add threadlocker where required.


There is marking on the axles to ensure that both sides are fixed level.

Do the same assembly for the fwd axle.

Hook up the rear axle and followed by the the fwd steering axle.


Not a very good design for the steering rod.


Next is assembling the shocks which is standard for all vehicles.

Shock oil provided in the kit.


Mount the shocks.


Thats it for bag B.... Now on to bag C.

Before starting on bag C... It would advisable to get a magnetic container as to not lose any parts. this bag contains most of the gearbox part to assemble the 3 speed transmission.

Take time reading the manual before starting ass not to mess up the sequence.


Assembled and ready to be fitted to the chassis.

Looking quite good after bag A, B & C.

Bag D mostly consist of accessories to fully assemble the electronic parts of the kit.


Shafts for the transmission and steering installed. The steering rod is not very good design as it tend to flex under great deal of torque.


Wiring in progress.


The battery tray.

Cover mounts.

Front bumper mounted.

Rear bumper mounted.

Stunning with the legendary big wheels

Testing my 3 Speed transmission after the final adjustments.
Last edited by Zax13 on Fri 22 Mar 2013 - 17:28; edited 5 times in total

Zax13- Crawler
- Posts : 345
Join date : 2011-12-22
Location : Sengkang
 Re: The Bruiser Built Story...
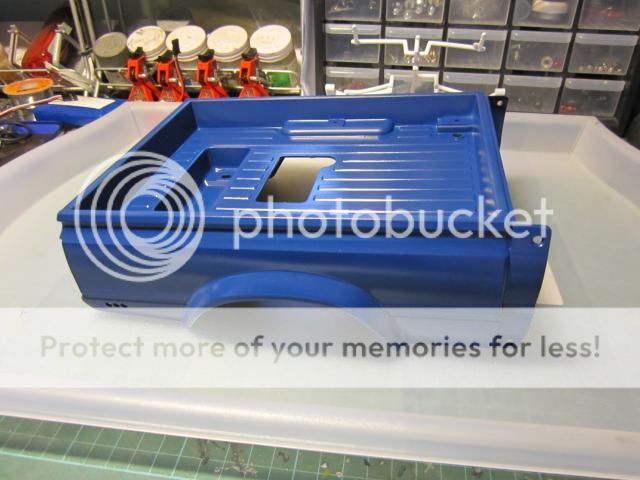
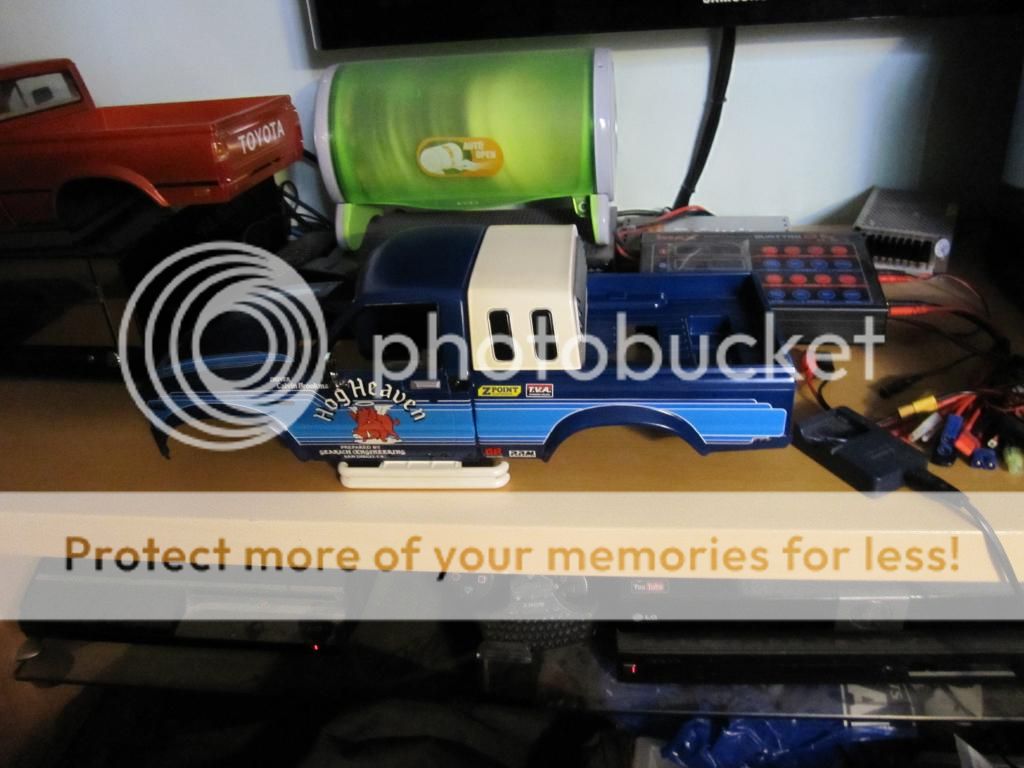
Now its time for me to paint the cover body. Im trying to follow the original colour of the bruiser as to bring back the nostalgic era.
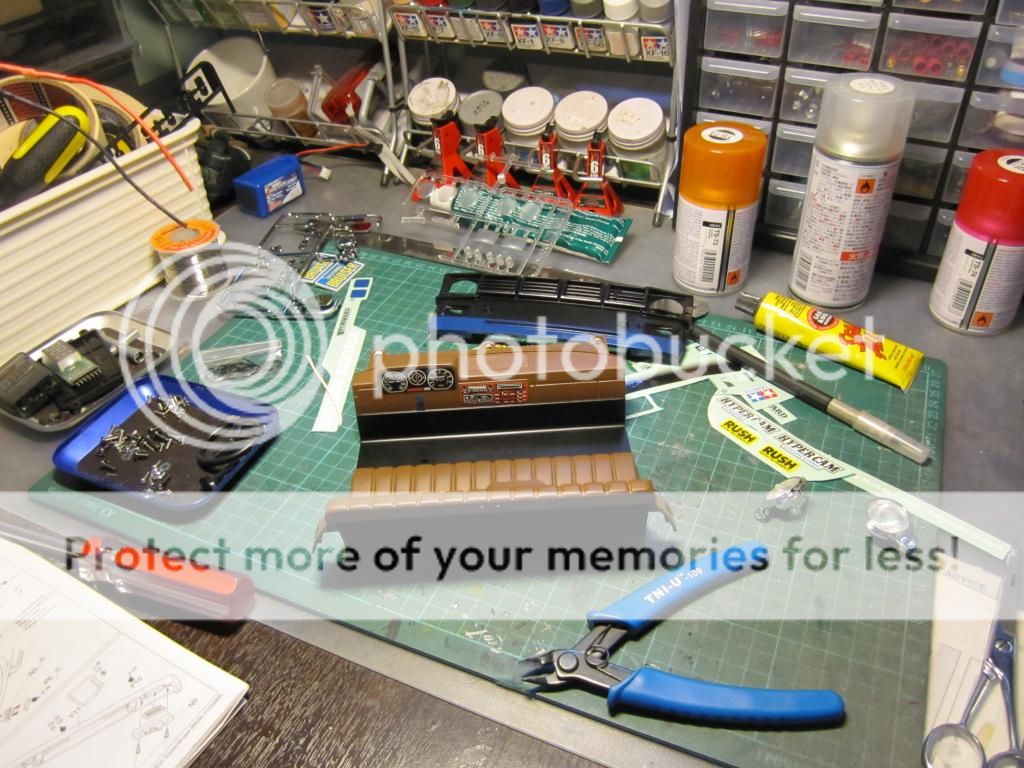
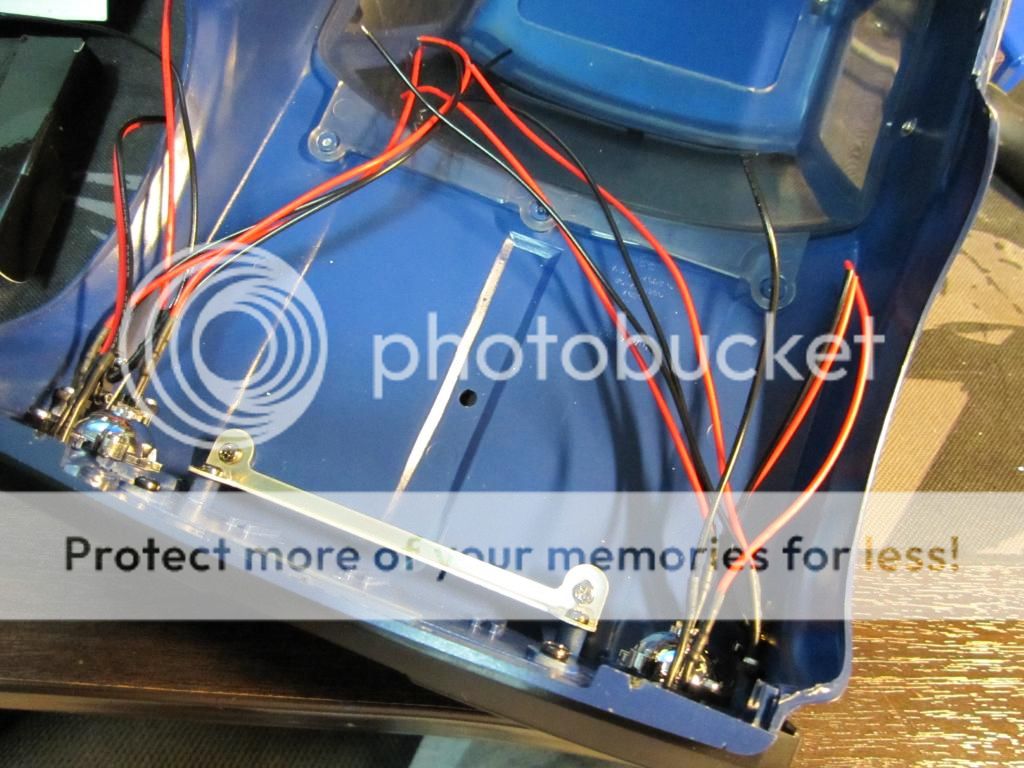
Next the wiring of the body covers....
Putting on some final touch up...
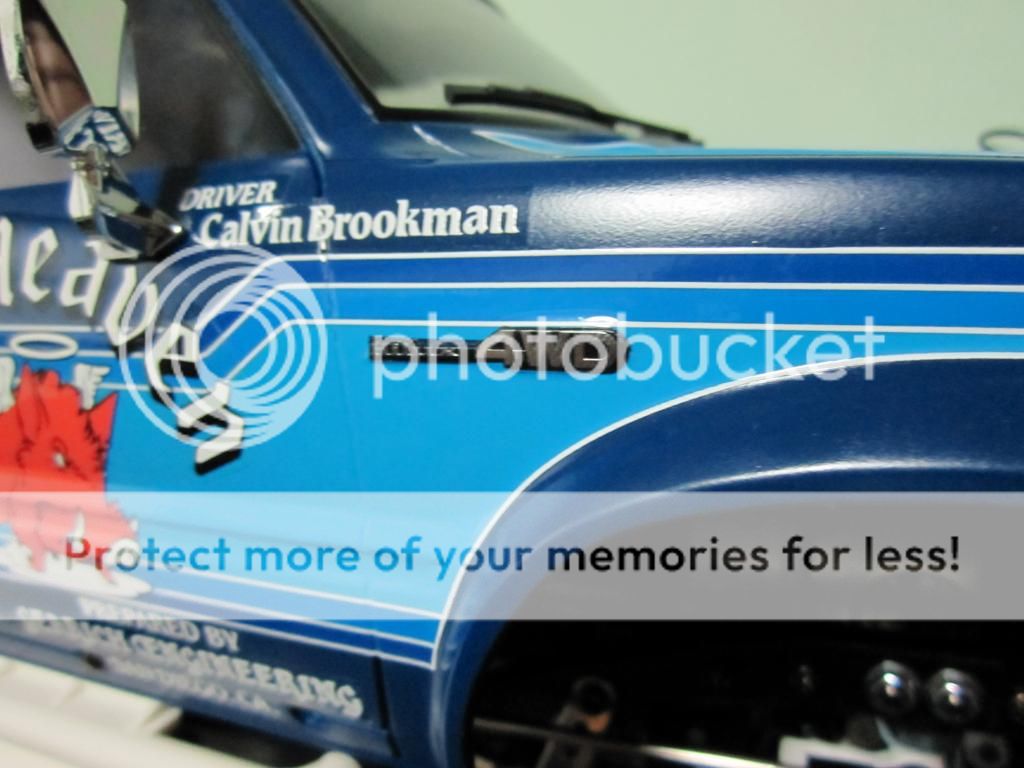
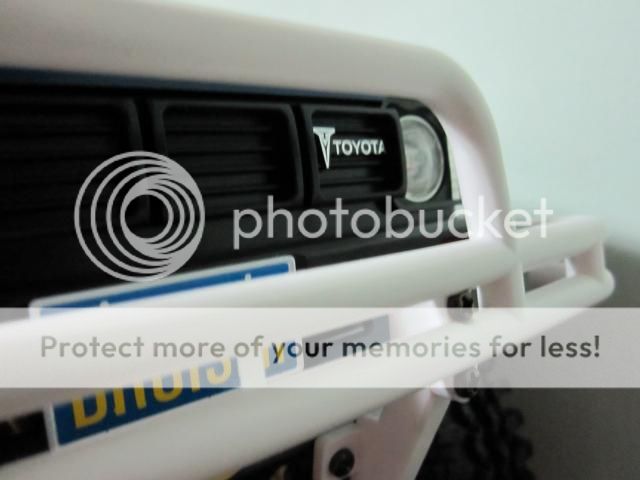
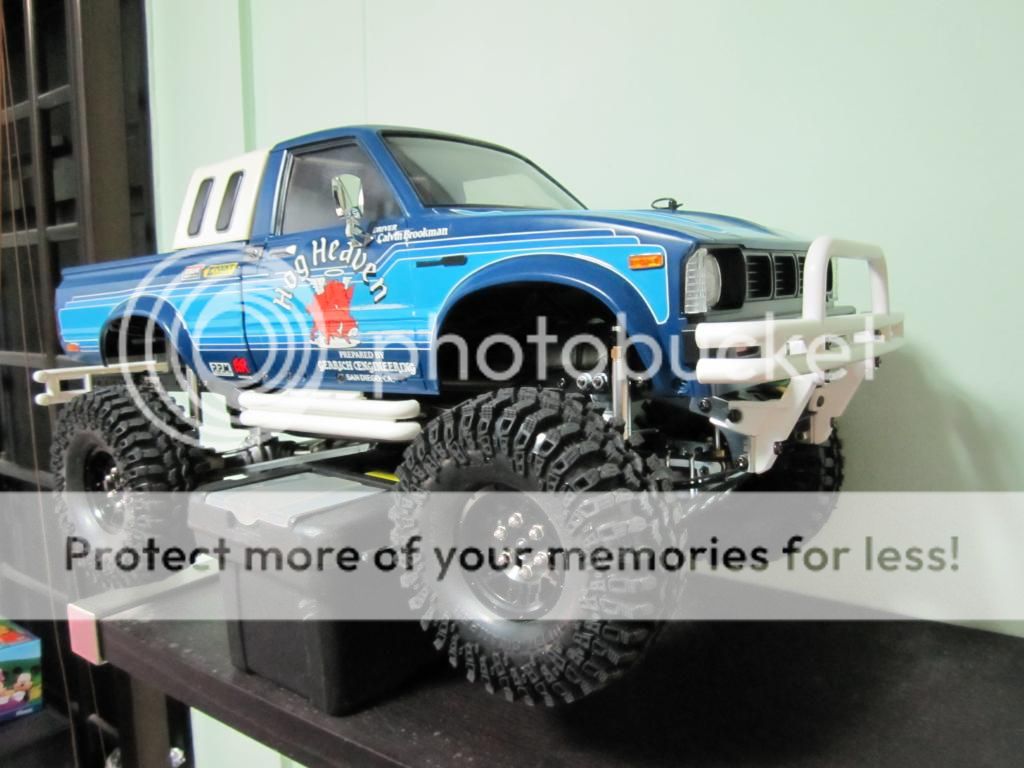
The final product...
Notice instead of using the original bruiser wheels, I modify them to use a standard 12mm hex wheel. Which I think is more practical.


Next the wiring of the body covers....

Putting on some final touch up...


The final product...
Notice instead of using the original bruiser wheels, I modify them to use a standard 12mm hex wheel. Which I think is more practical.

Last edited by Zax13 on Thu 28 Mar 2013 - 19:39; edited 1 time in total

Zax13- Crawler
- Posts : 345
Join date : 2011-12-22
Location : Sengkang
 Re: The Bruiser Built Story...
Some more pictures....
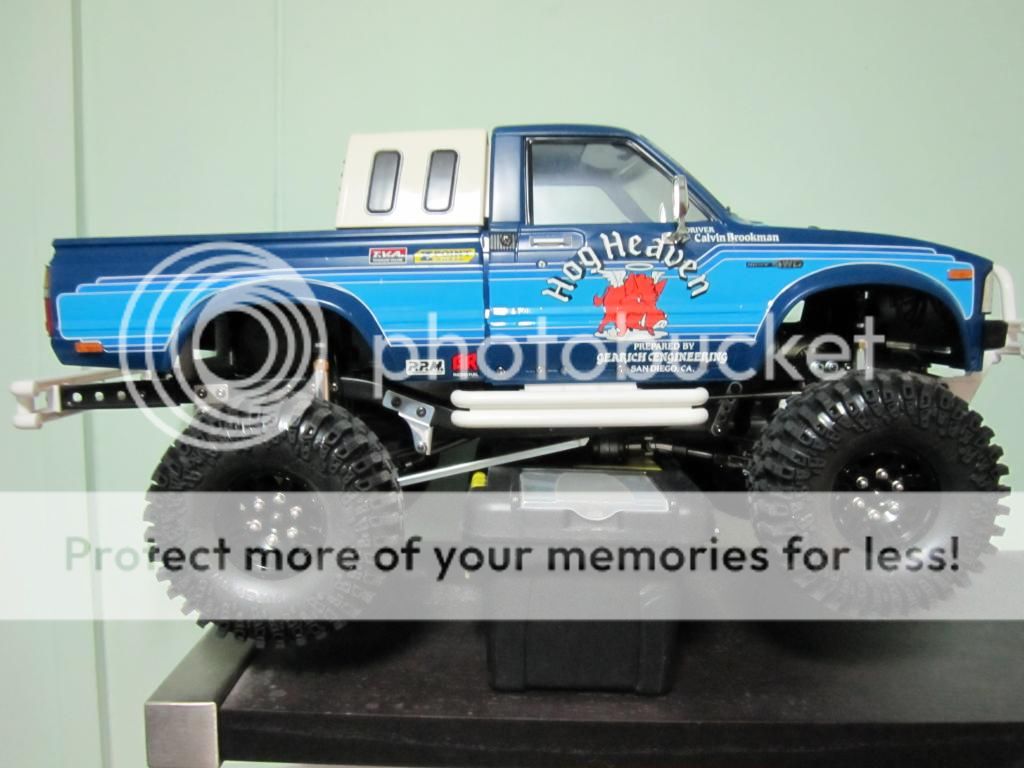
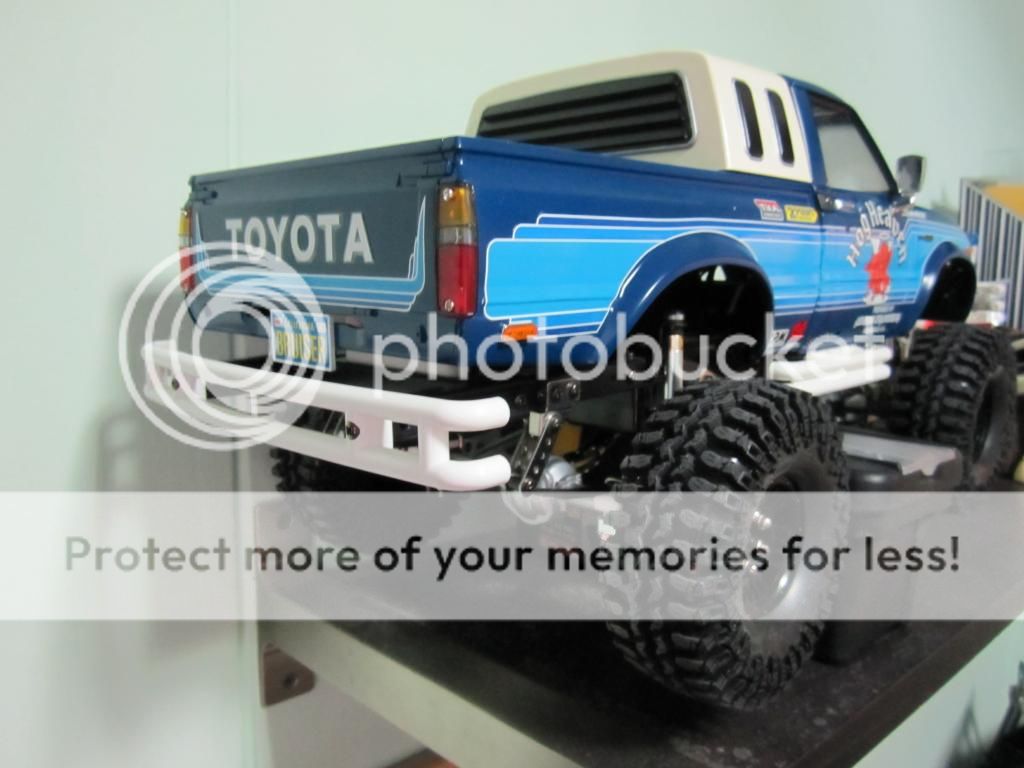

Will try to do a test run Video soon.


Will try to do a test run Video soon.
Last edited by Zax13 on Thu 28 Mar 2013 - 19:43; edited 2 times in total

Zax13- Crawler
- Posts : 345
Join date : 2011-12-22
Location : Sengkang
 Re: The Bruiser Built Story...

RTECH- Crawler
- Posts : 2376
Join date : 2011-08-22
Age : 52
Location : Hougang
 Re: The Bruiser Built Story...
 can't wait to test the truck
Harakiri- Boss
- Posts : 305
Join date : 2011-08-22
Location : Deep Muddy Jungle
 Re: The Bruiser Built Story...
this is an awesome legend truck.......

coldman28- Crawler
- Posts : 197
Join date : 2011-08-19
Age : 55
Location : Woodland
 Re: The Bruiser Built Story...
Thanks for the +ve comment guys... I had fun building the kit but the only thing is that the technology the bruiser was build on is still stuck in the 80's. A lot of the linkage and arms was never really Tamiya updated especially the steering linkages. From my opinion its not really strong and cannot under go hardcore trailing.

Zax13- Crawler
- Posts : 345
Join date : 2011-12-22
Location : Sengkang
 Re: The Bruiser Built Story...
Drools....  When this one rolling out?

Wrigleys- Moderator
- Posts : 396
Join date : 2011-09-09
Location : Outback
 Re: The Bruiser Built Story...
Long time no see bro... What have you been up to?Wrigleys wrote:Drools....When this one rolling out?

Zax13- Crawler
- Posts : 345
Join date : 2011-12-22
Location : Sengkang
 Re: The Bruiser Built Story...
Wow, what a nice kit! 
The gearbox is sweet -- all RC should have that. It is a great way to introduce young ones on how a gearbox work by building and testing it yourself.
I feel poisoned now ... Need to save money ...
The gearbox is sweet -- all RC should have that. It is a great way to introduce young ones on how a gearbox work by building and testing it yourself.
I feel poisoned now ... Need to save money ...
 Re: The Bruiser Built Story...
Finish..... Already.....

Zax13- Crawler
- Posts : 345
Join date : 2011-12-22
Location : Sengkang
 Re: The Bruiser Built Story...
Ready to tear up the trail.... 

Zax13- Crawler
- Posts : 345
Join date : 2011-12-22
Location : Sengkang
 Re: The Bruiser Built Story...
Very very very nice build bro! Definitely must bring this to trail. 

Wrigleys- Moderator
- Posts : 396
Join date : 2011-09-09
Location : Outback
 Re: The Bruiser Built Story...
Thks..still a shelf queen. Miss the last woodgrove trail to test it out...

Zax13- Crawler
- Posts : 345
Join date : 2011-12-22
Location : Sengkang
 Similar topics
» bruiser vs high-lift
» Exceed RC . Whats the real story? ANYONE?
» Bruiser Trail Newbie
» Tamiya bruiser 4x4 re-realease
» Teck D90 landy built
» Exceed RC . Whats the real story? ANYONE?
» Bruiser Trail Newbie
» Tamiya bruiser 4x4 re-realease
» Teck D90 landy built
SG Crawlers Forum :: RC Talk - Trail Trucks and Crawlers :: RC Trail Rigs and Rock Crawlers Discussion
Page 1 of 1
Permissions in this forum:
You cannot reply to topics in this forum

